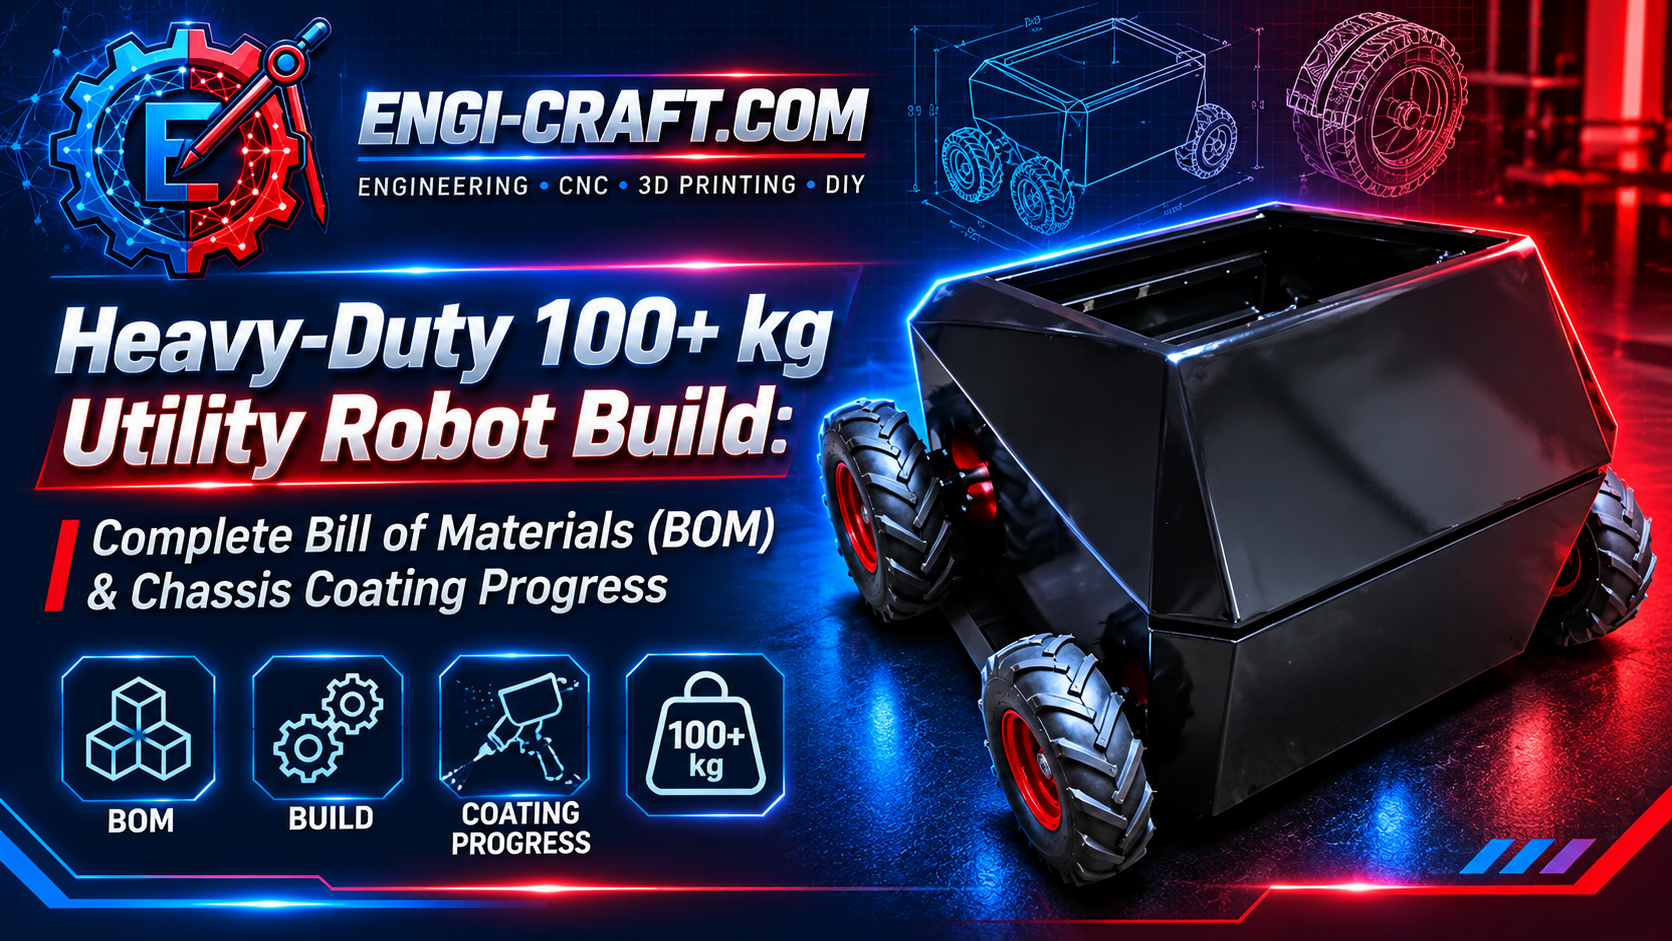

Engineering a high-payload, off-road robotic platform exceeding 100+ kg requires an uncompromising balance between structural frame stiffness, high-current electrical robustness, and environmental durability. The platform is designed as an all-terrain utility carrier capable of operating heavy attachments (such as a motorized snowplow blade and inspection sensors) across demanding outdoor terrain.
In this update, I present the comprehensive Bill of Materials (BOM) for both the mechanical and electrical subsystems, along with a full recap of our current workshop milestone: weld seam finishing, surface preparation, and multi-layer chassis coating.
1. Structural Chassis & Drivetrain Mechanics (Mechanical BOM)
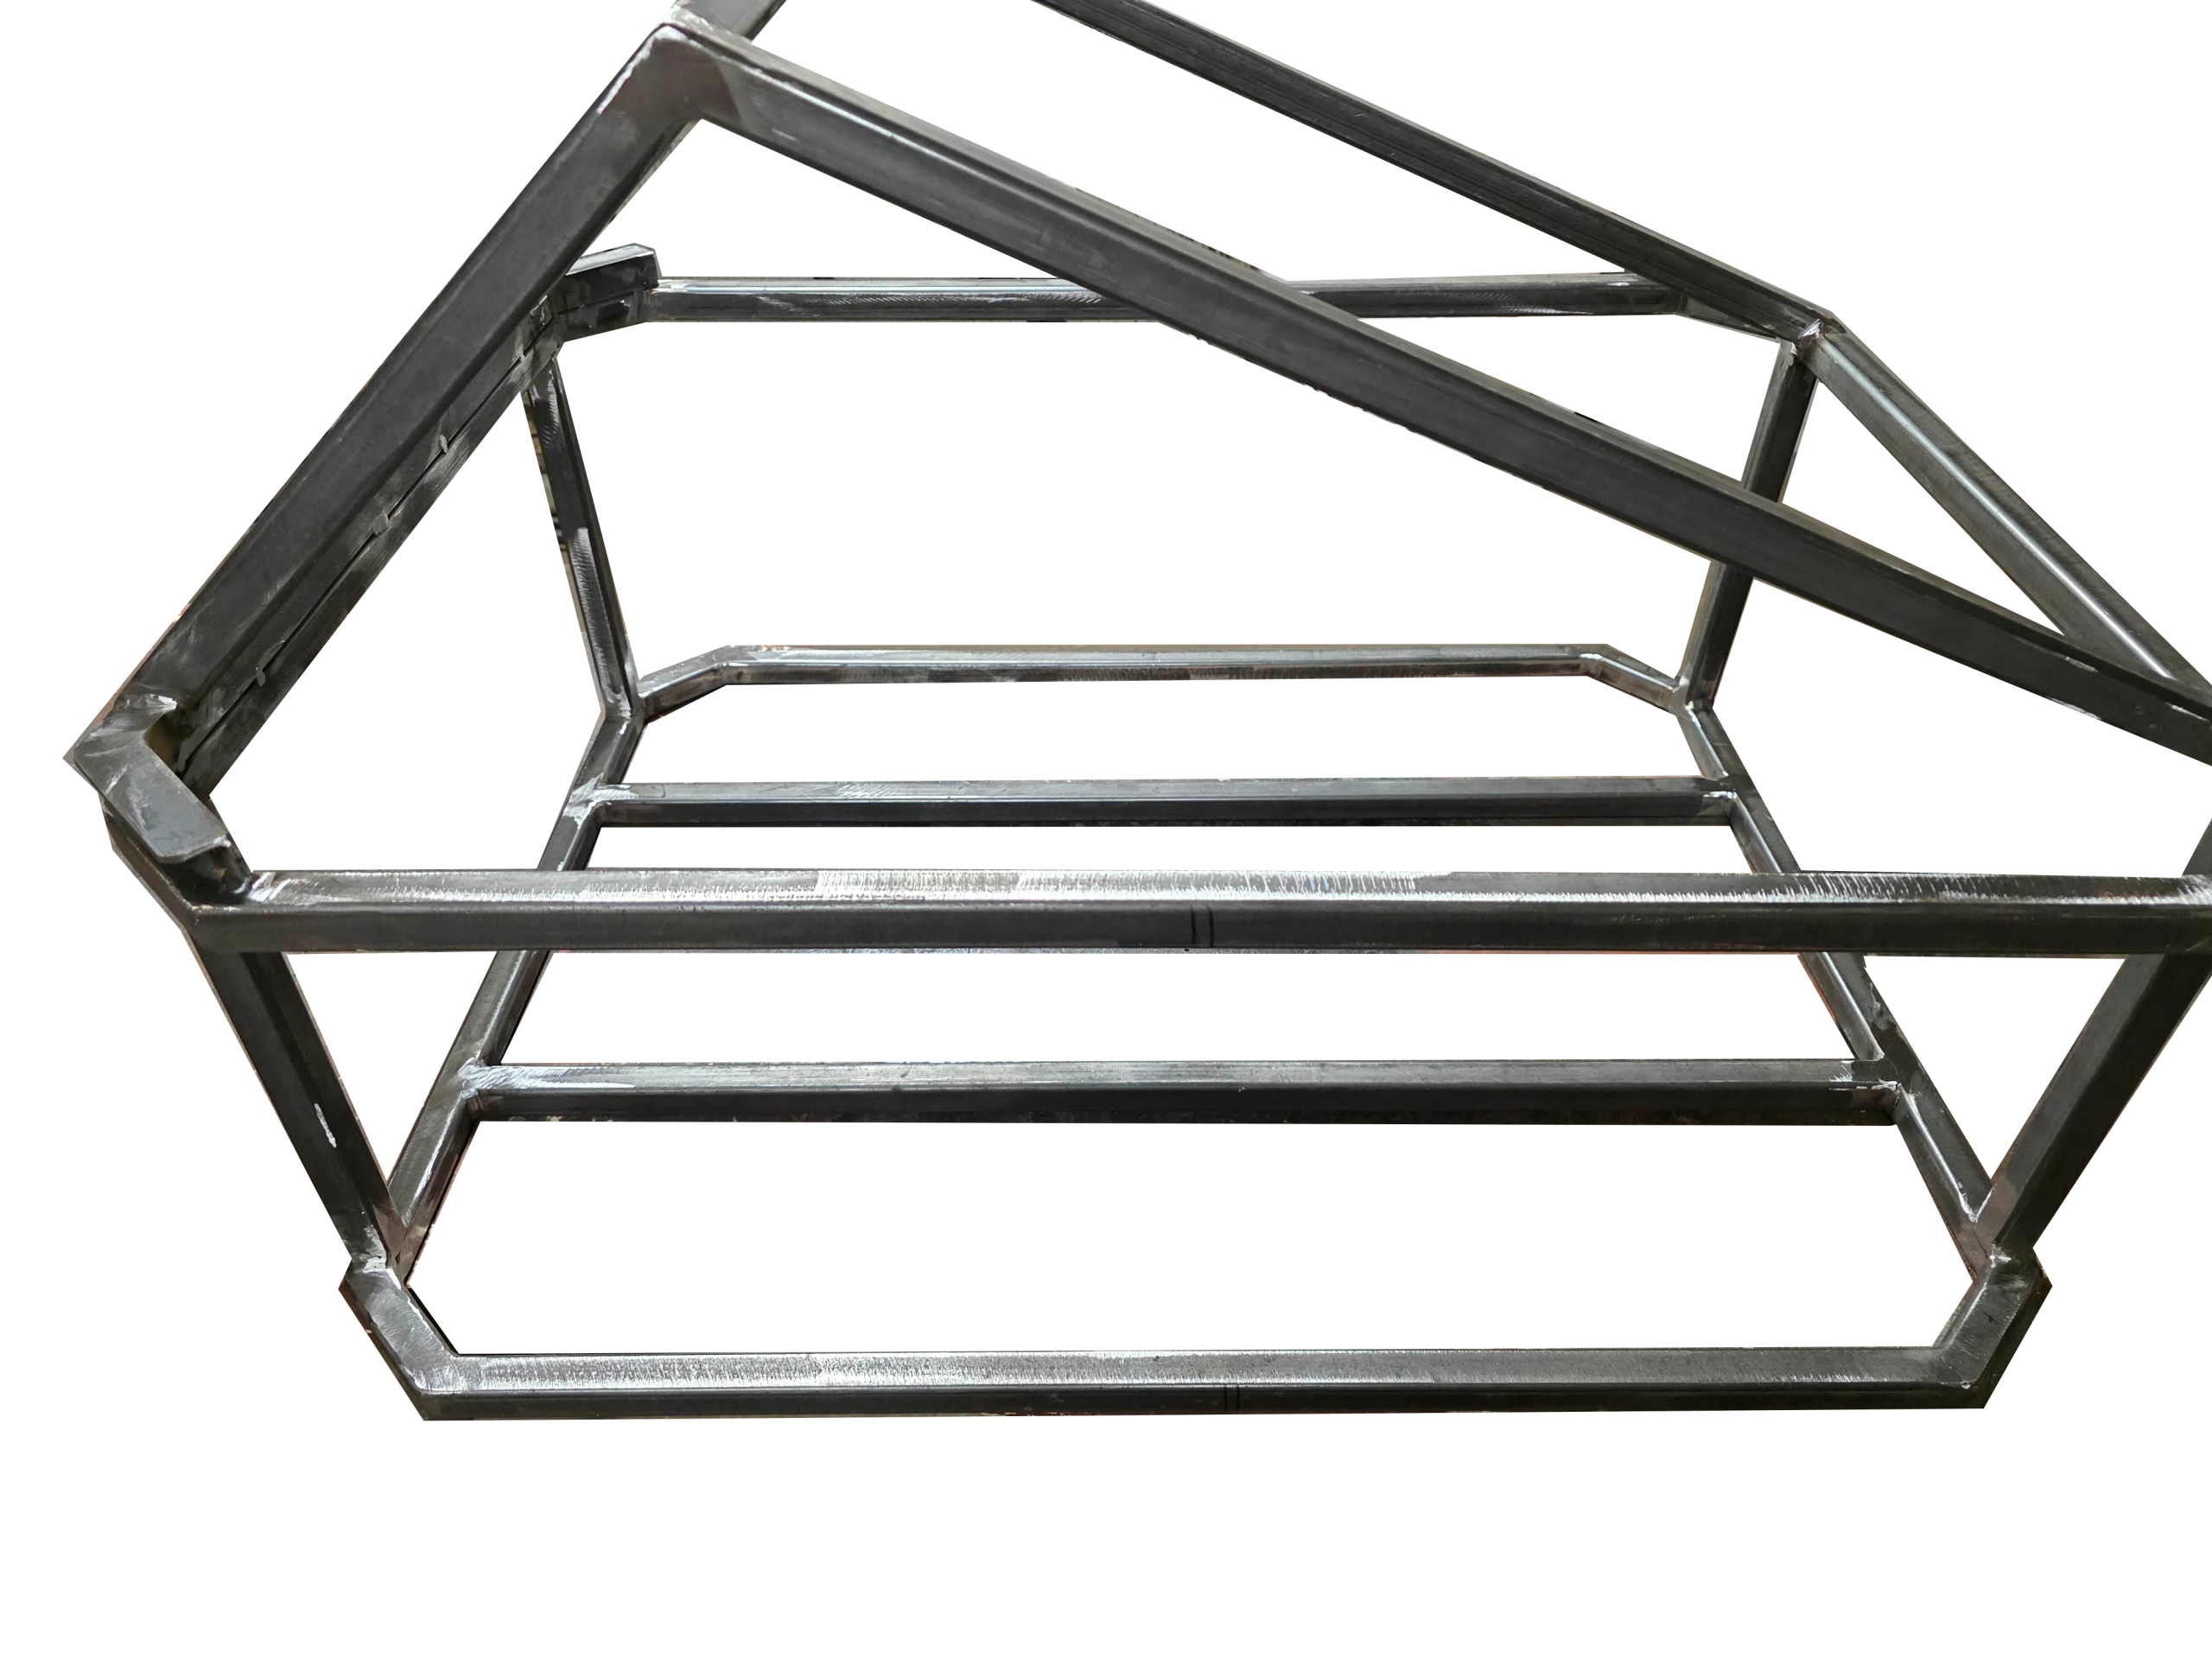
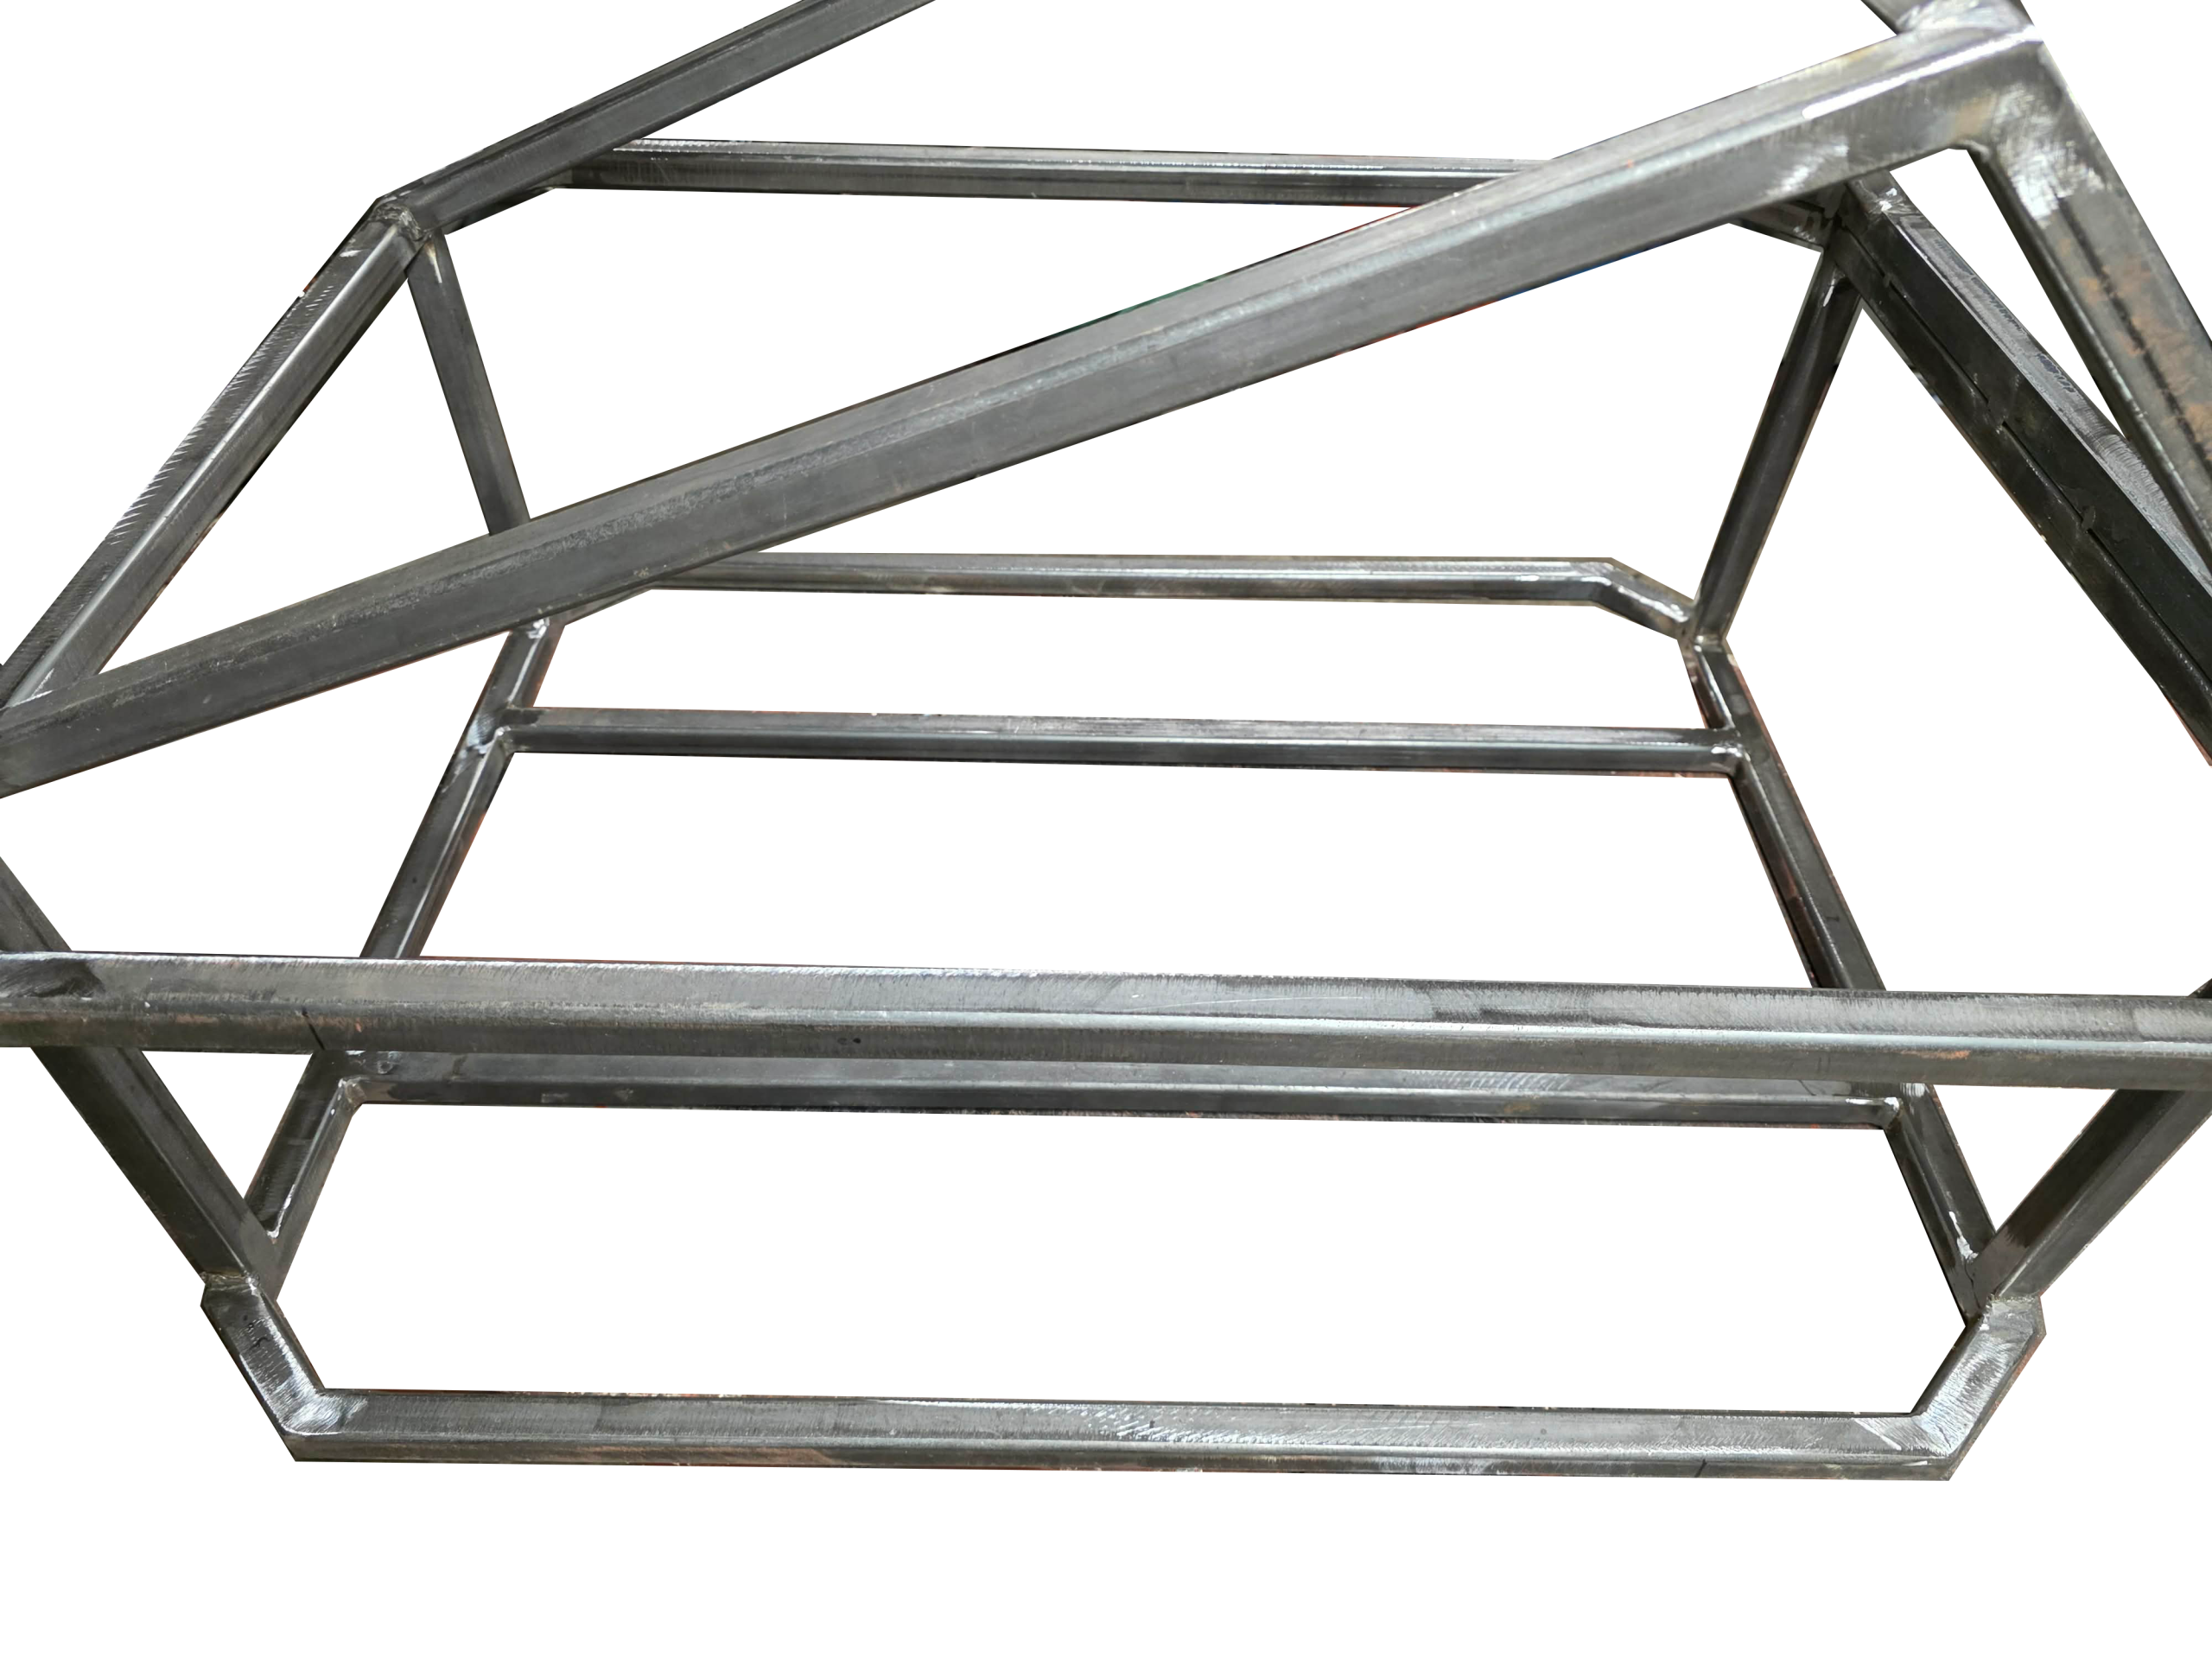
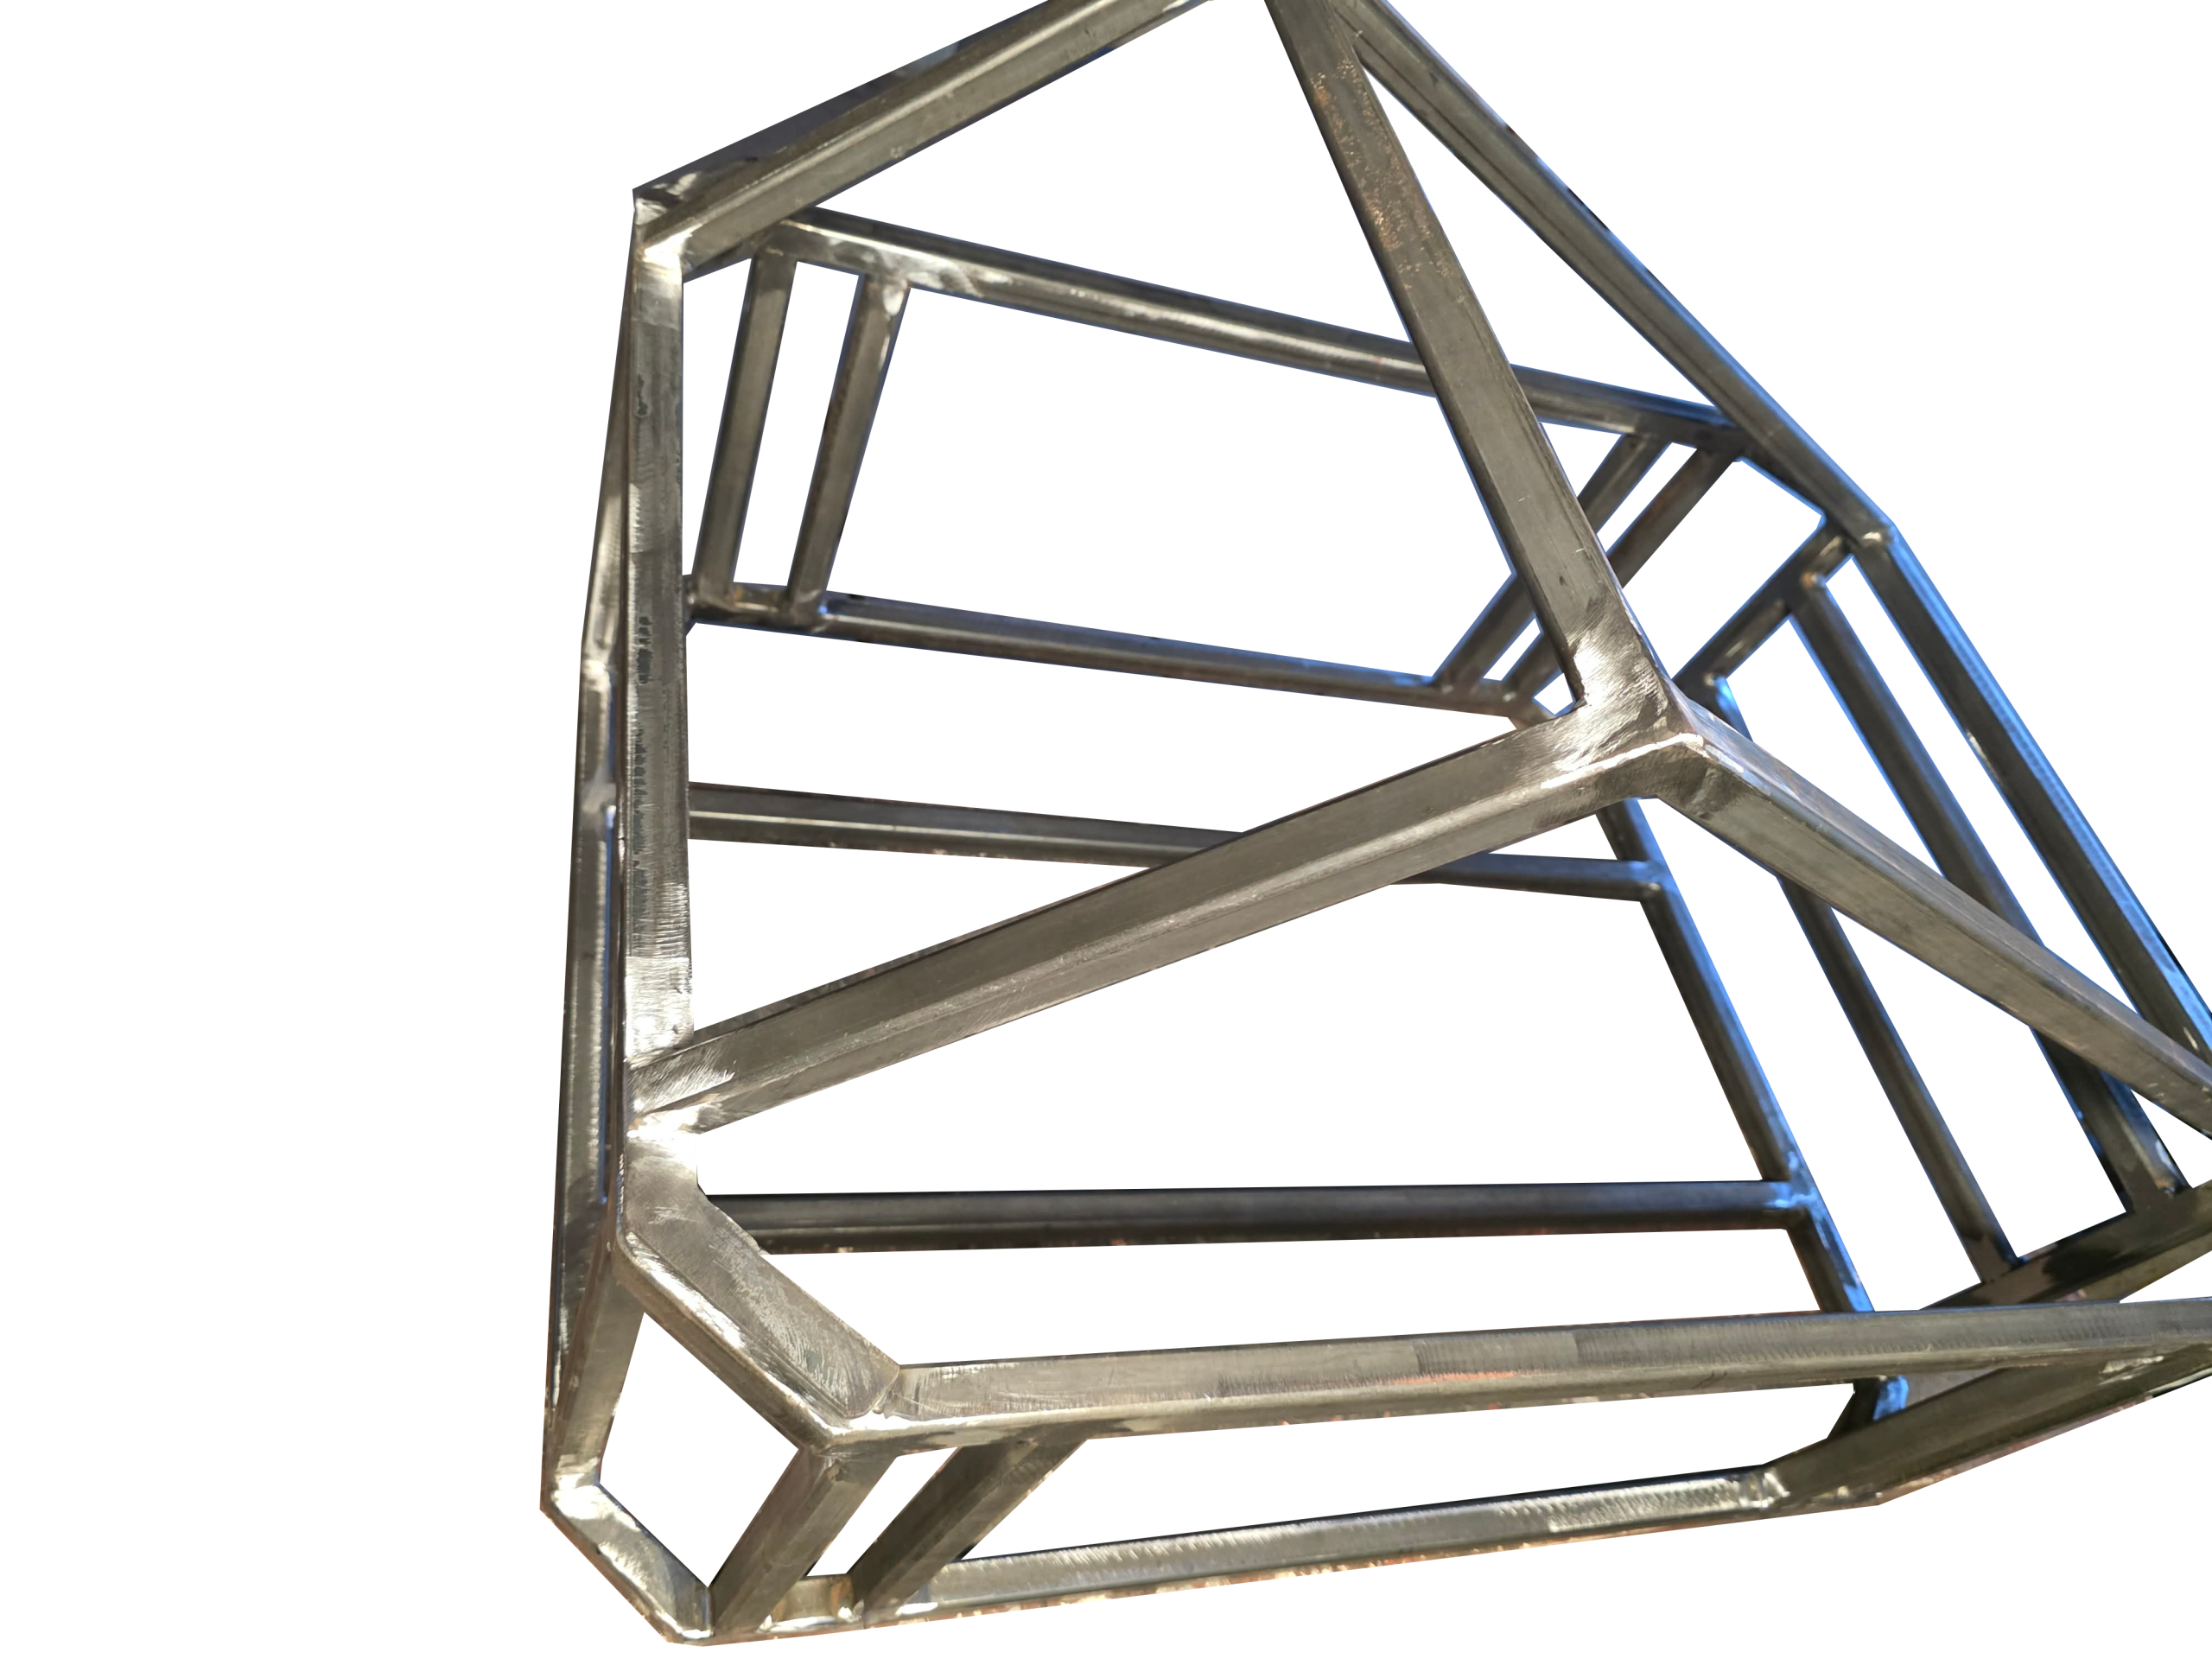
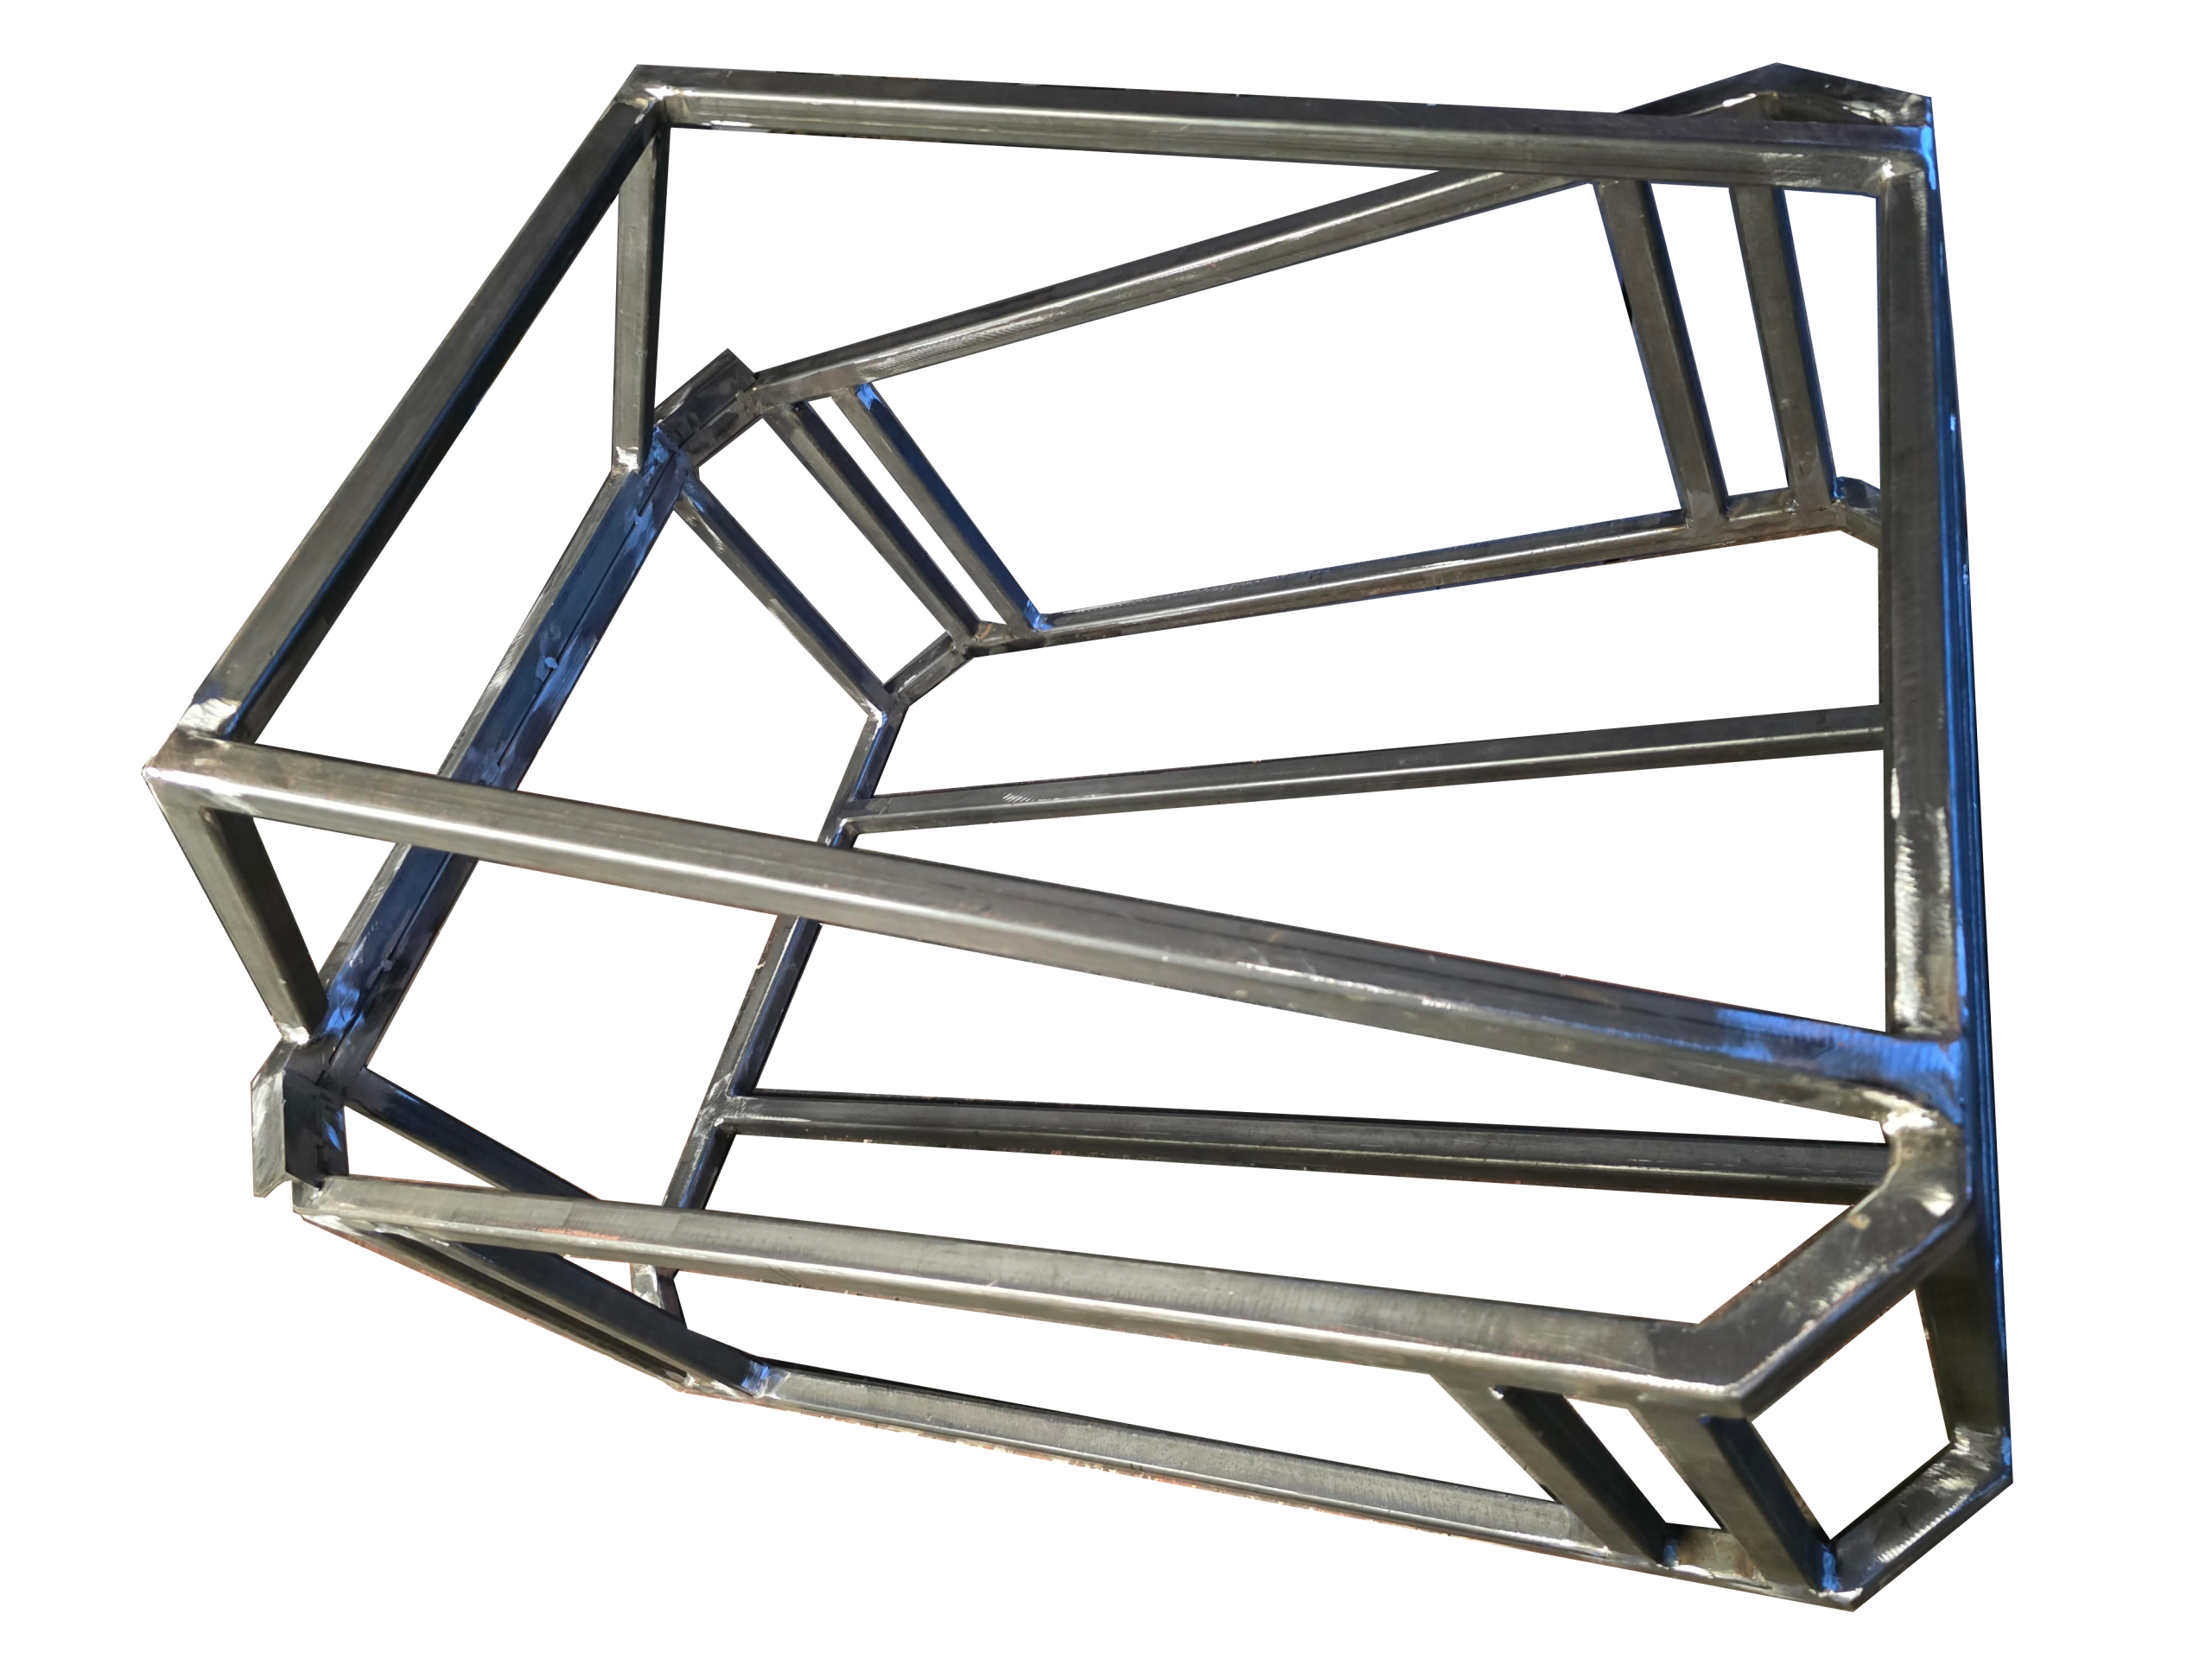
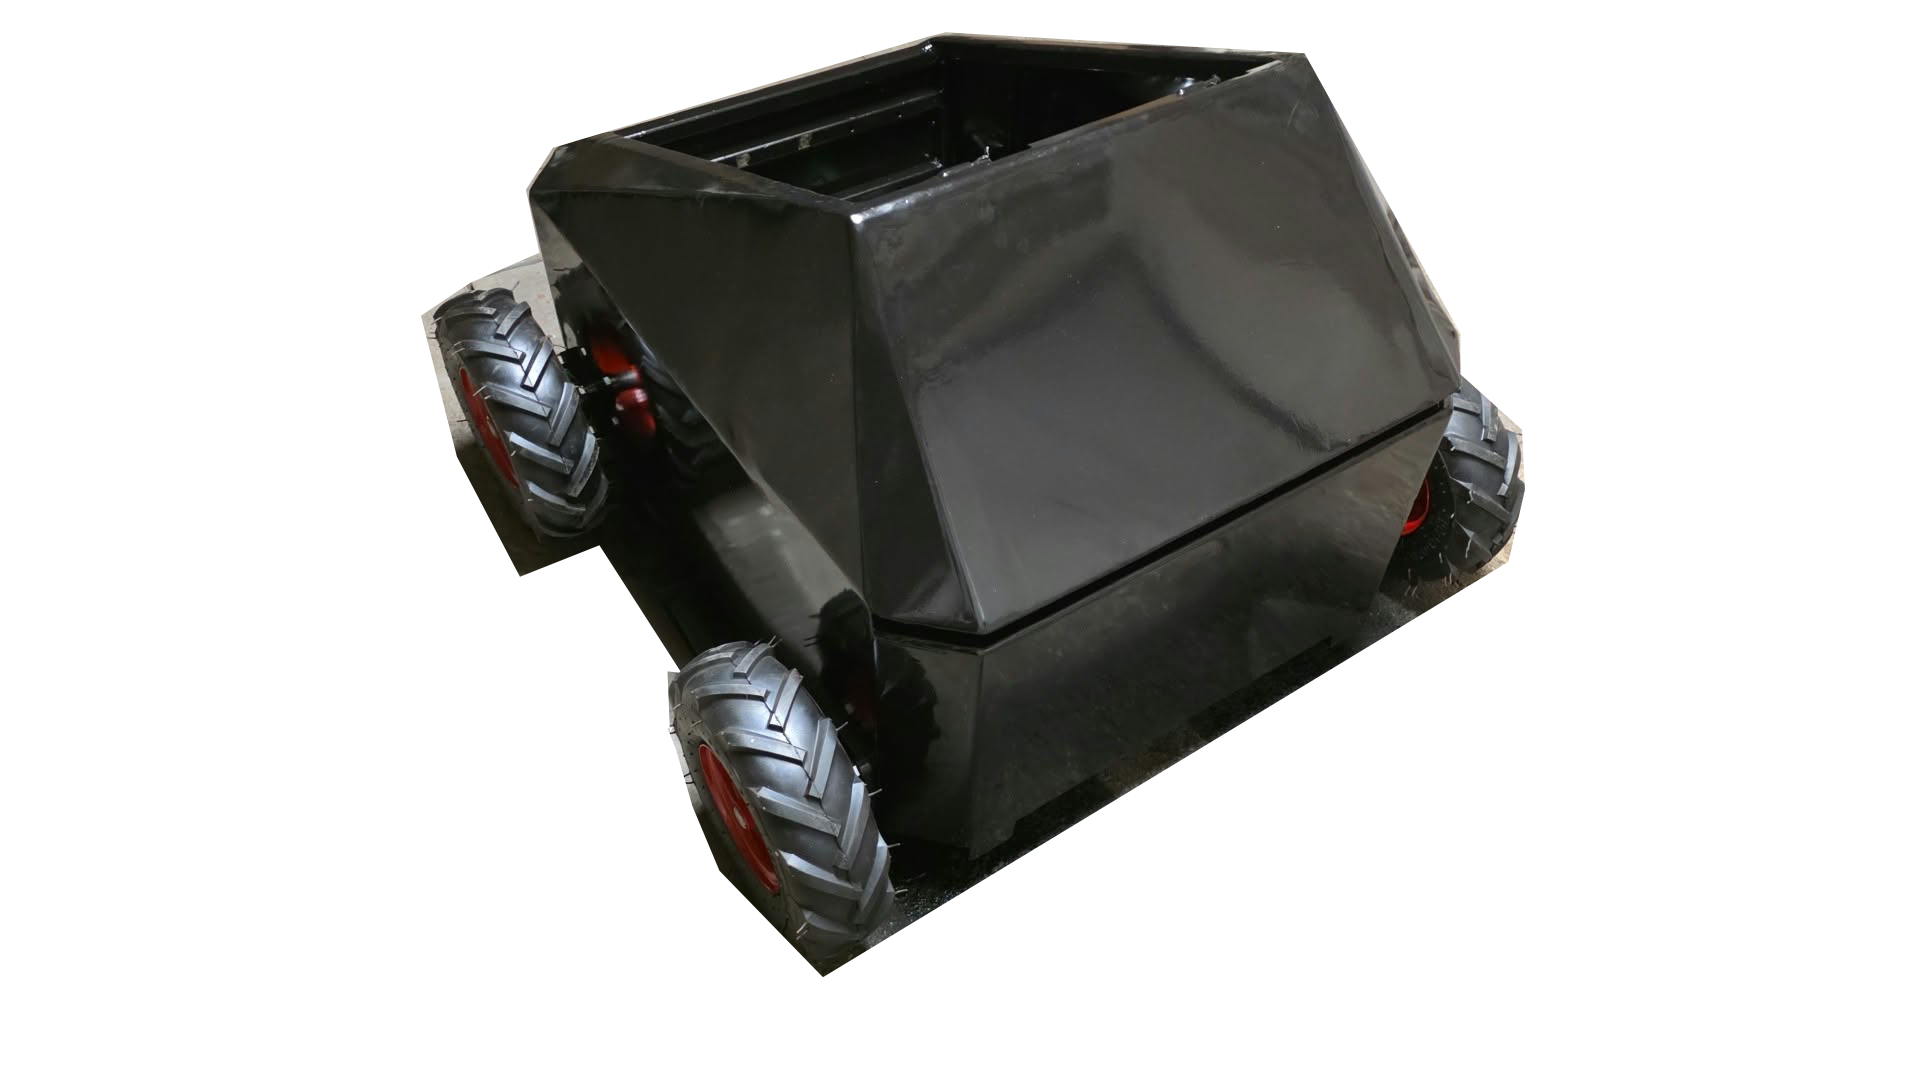
The backbone of the robot is an all-steel welded space frame, engineered to absorb dynamic impacts, torsional shear stresses, and high payload forces.
Mechanical Bill of Materials:
- Main Chassis: 25x25x3 structural steel square tubing (S235JR grade), miter-cut and MIG/MAG welded.
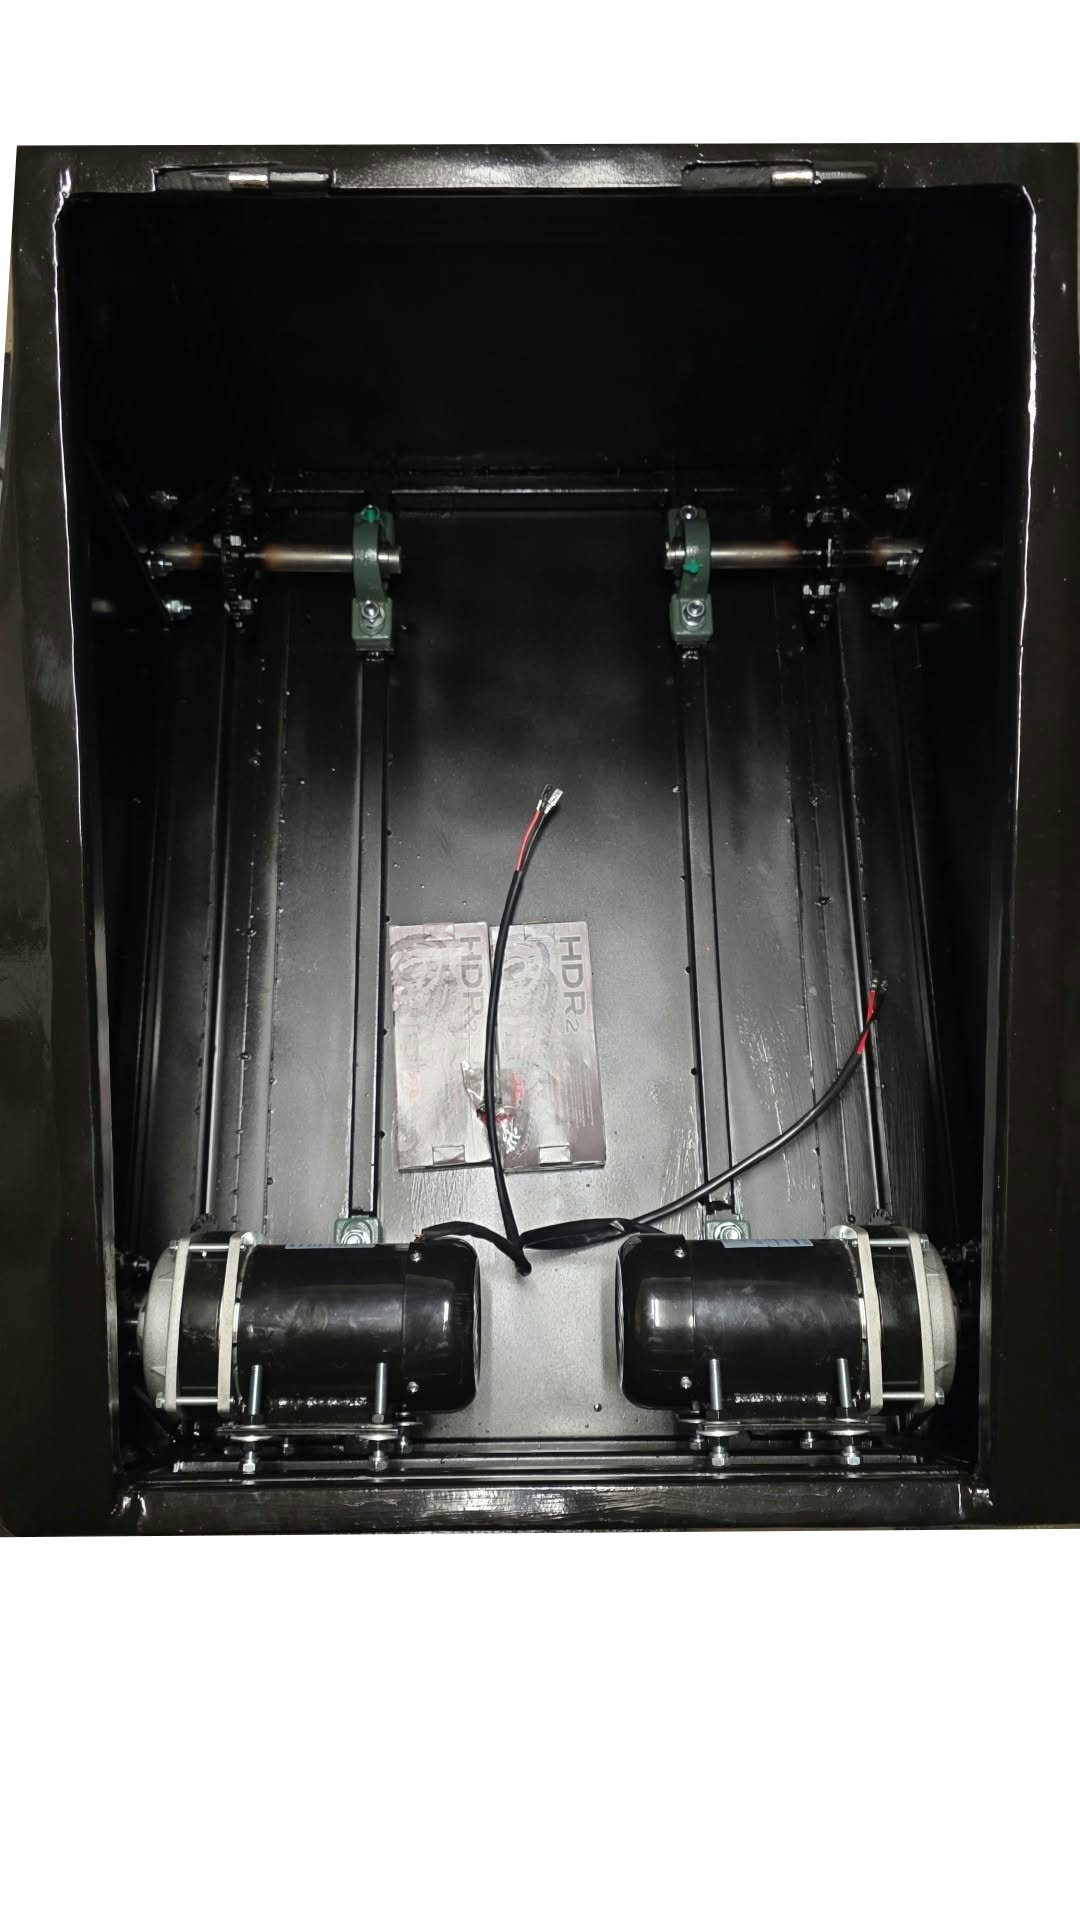
- Gusset Plates & Motor Mounts: 6 mm and 10 mm laser-cut steel plates for rigid bearing block alignment and motor positioning.
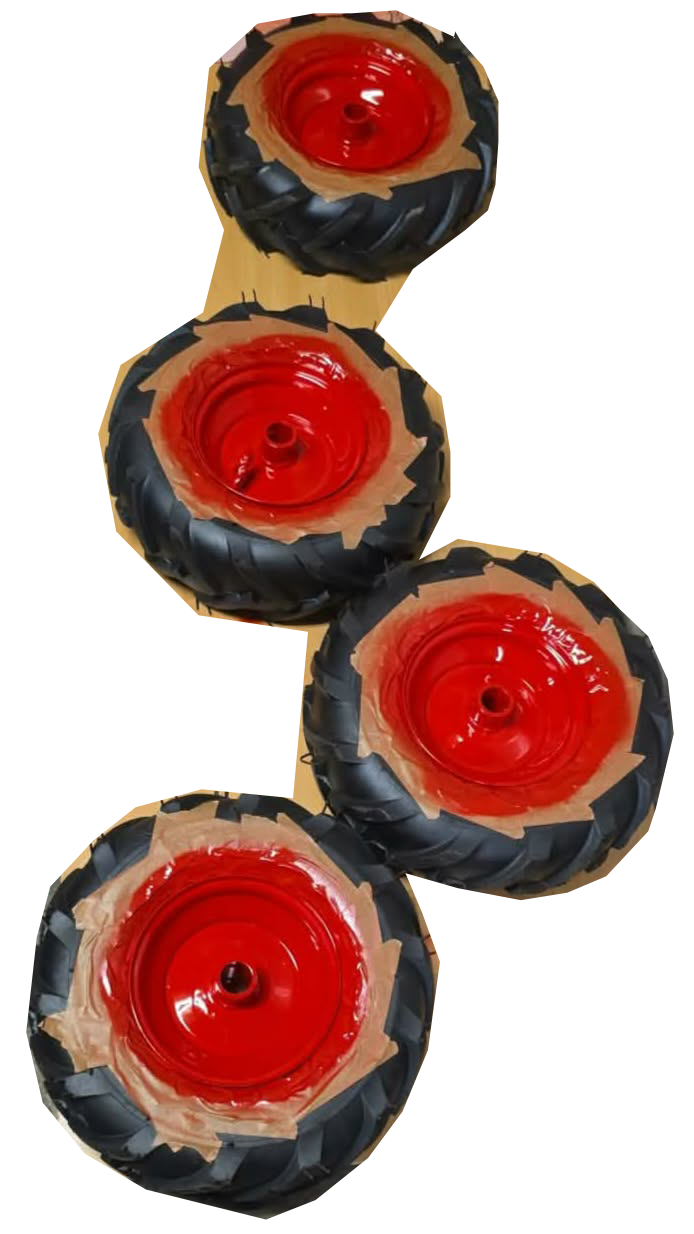
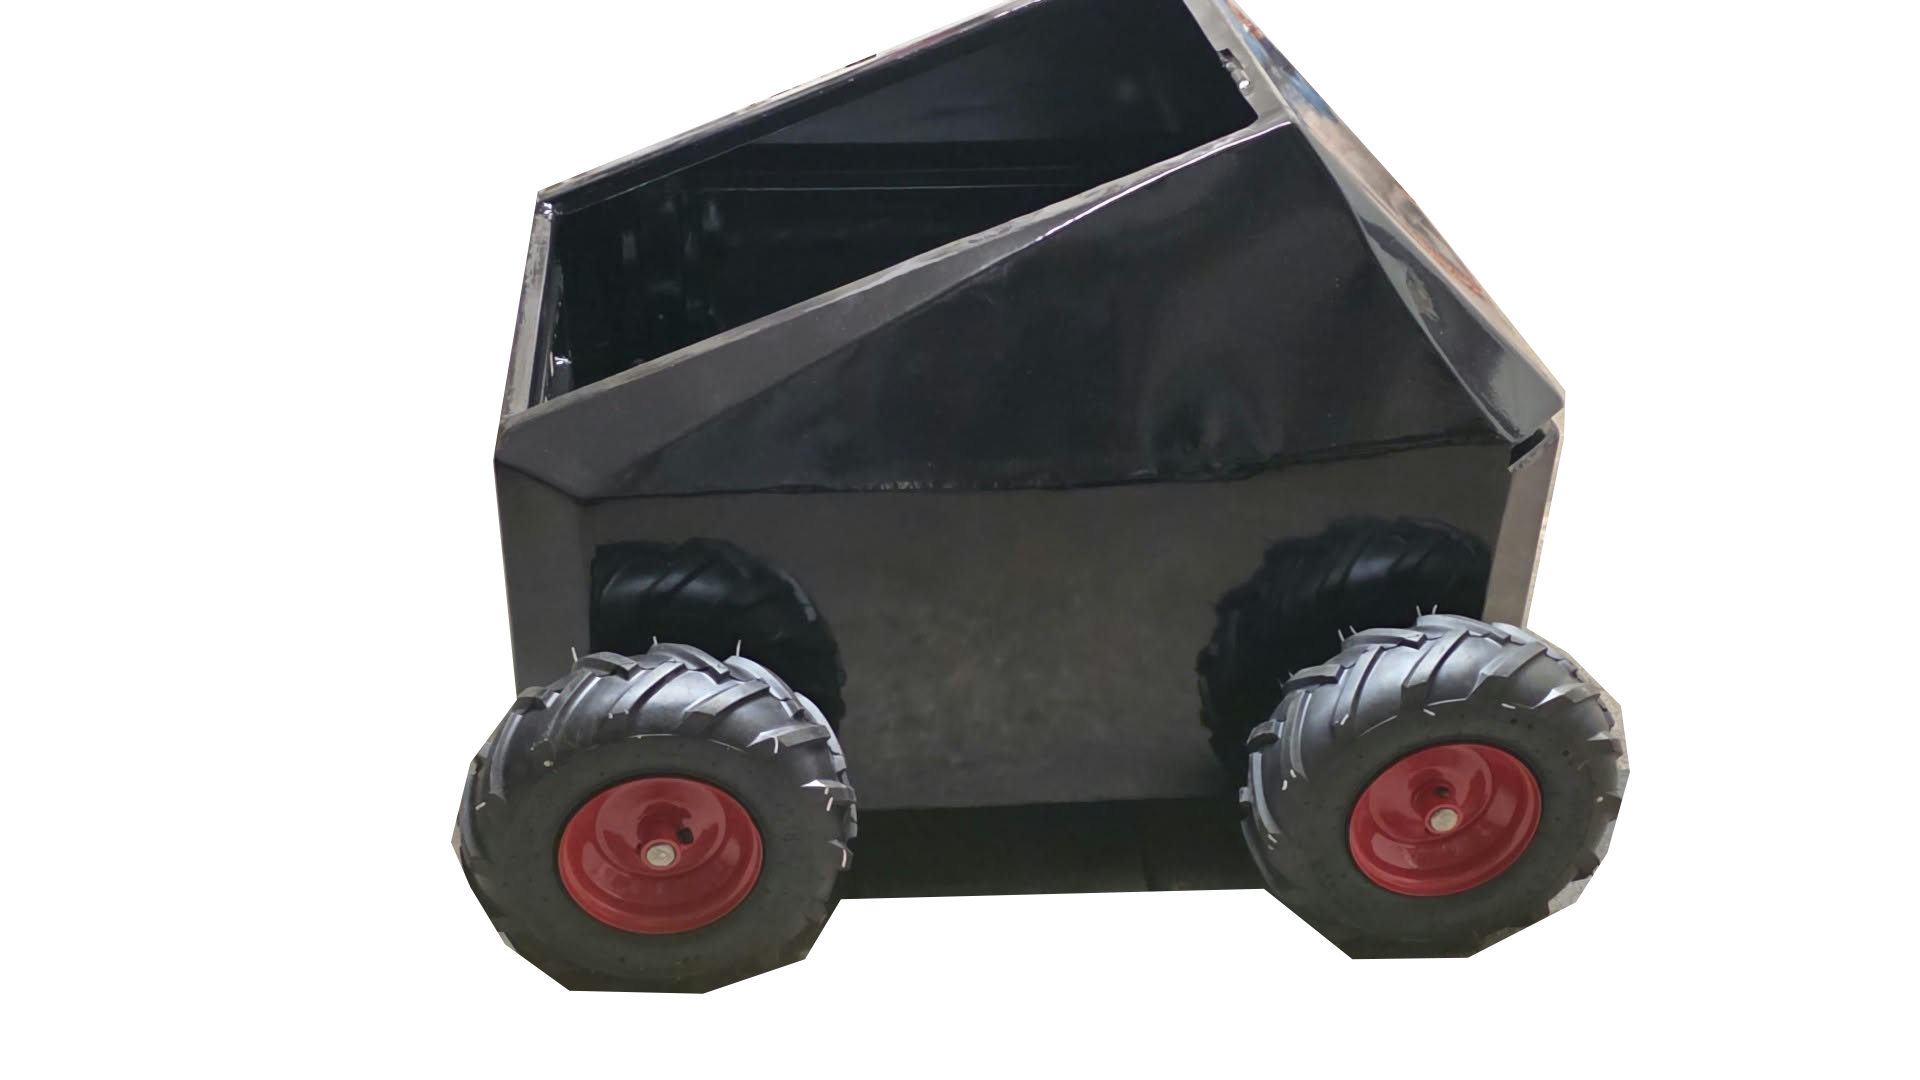
- Running Gear & Wheels: 4-wheel drive layout with rugged agricultural chevron tractor tires mounted onto precision-machined steel axles.
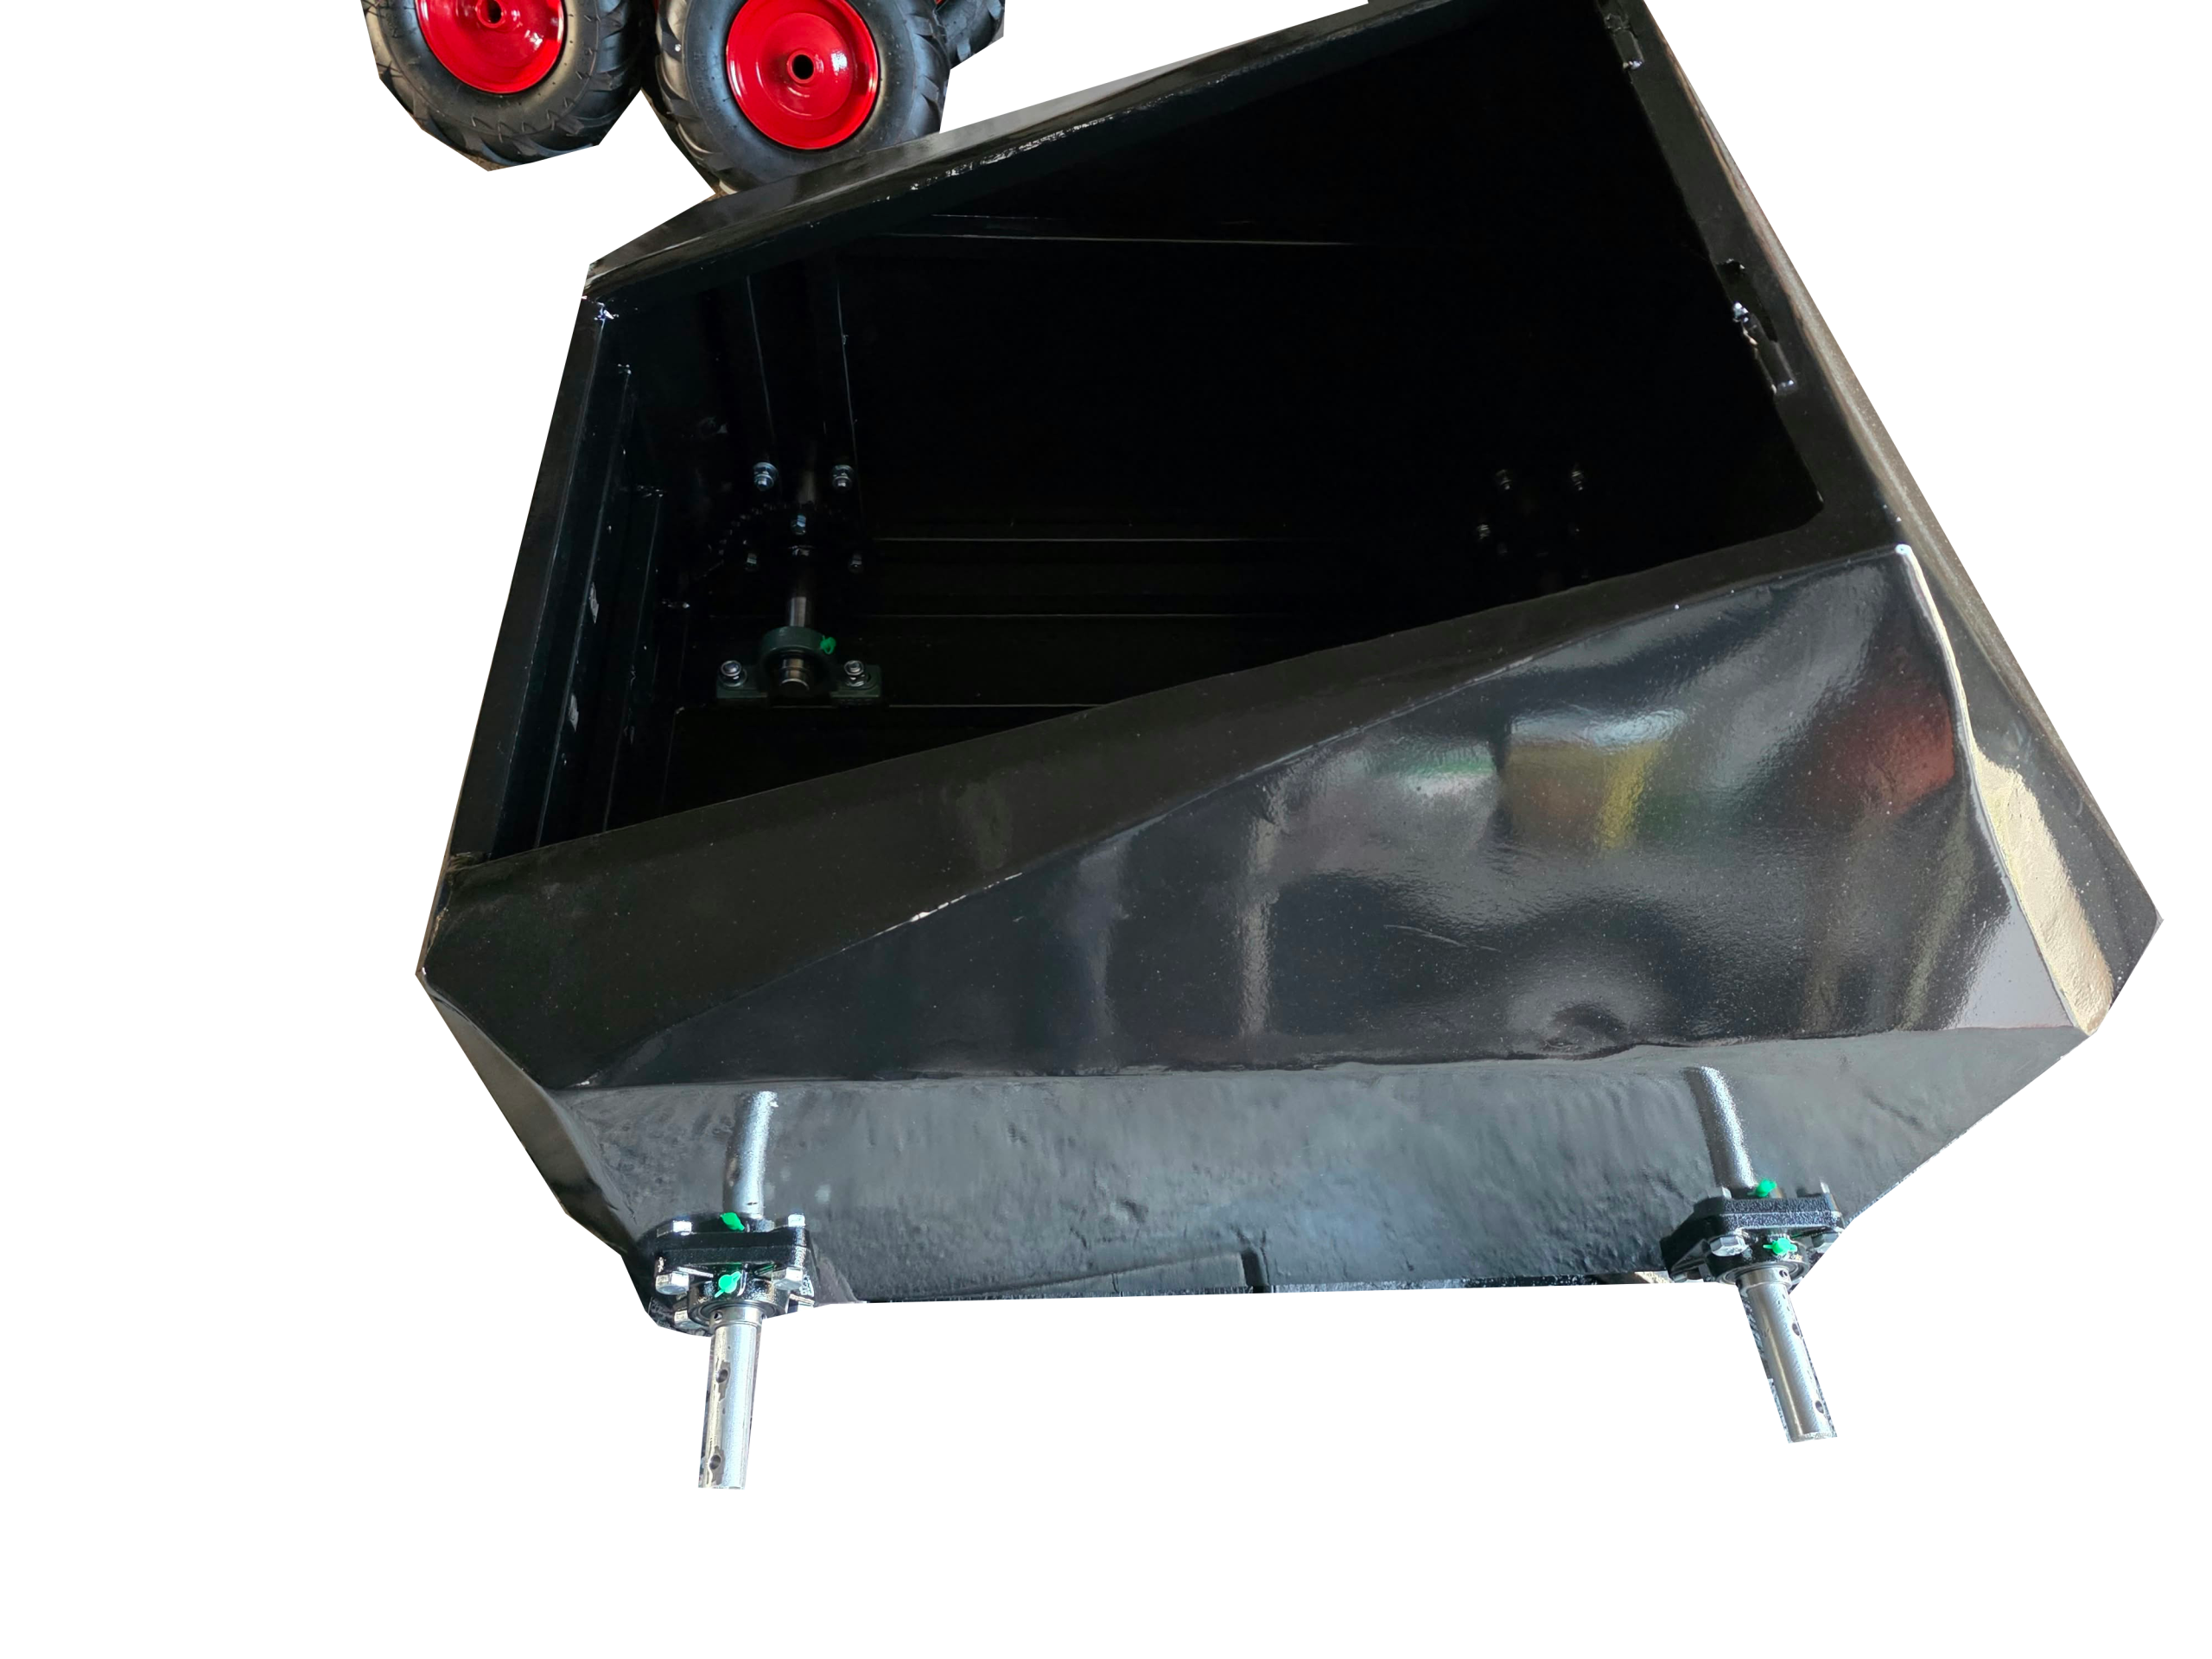
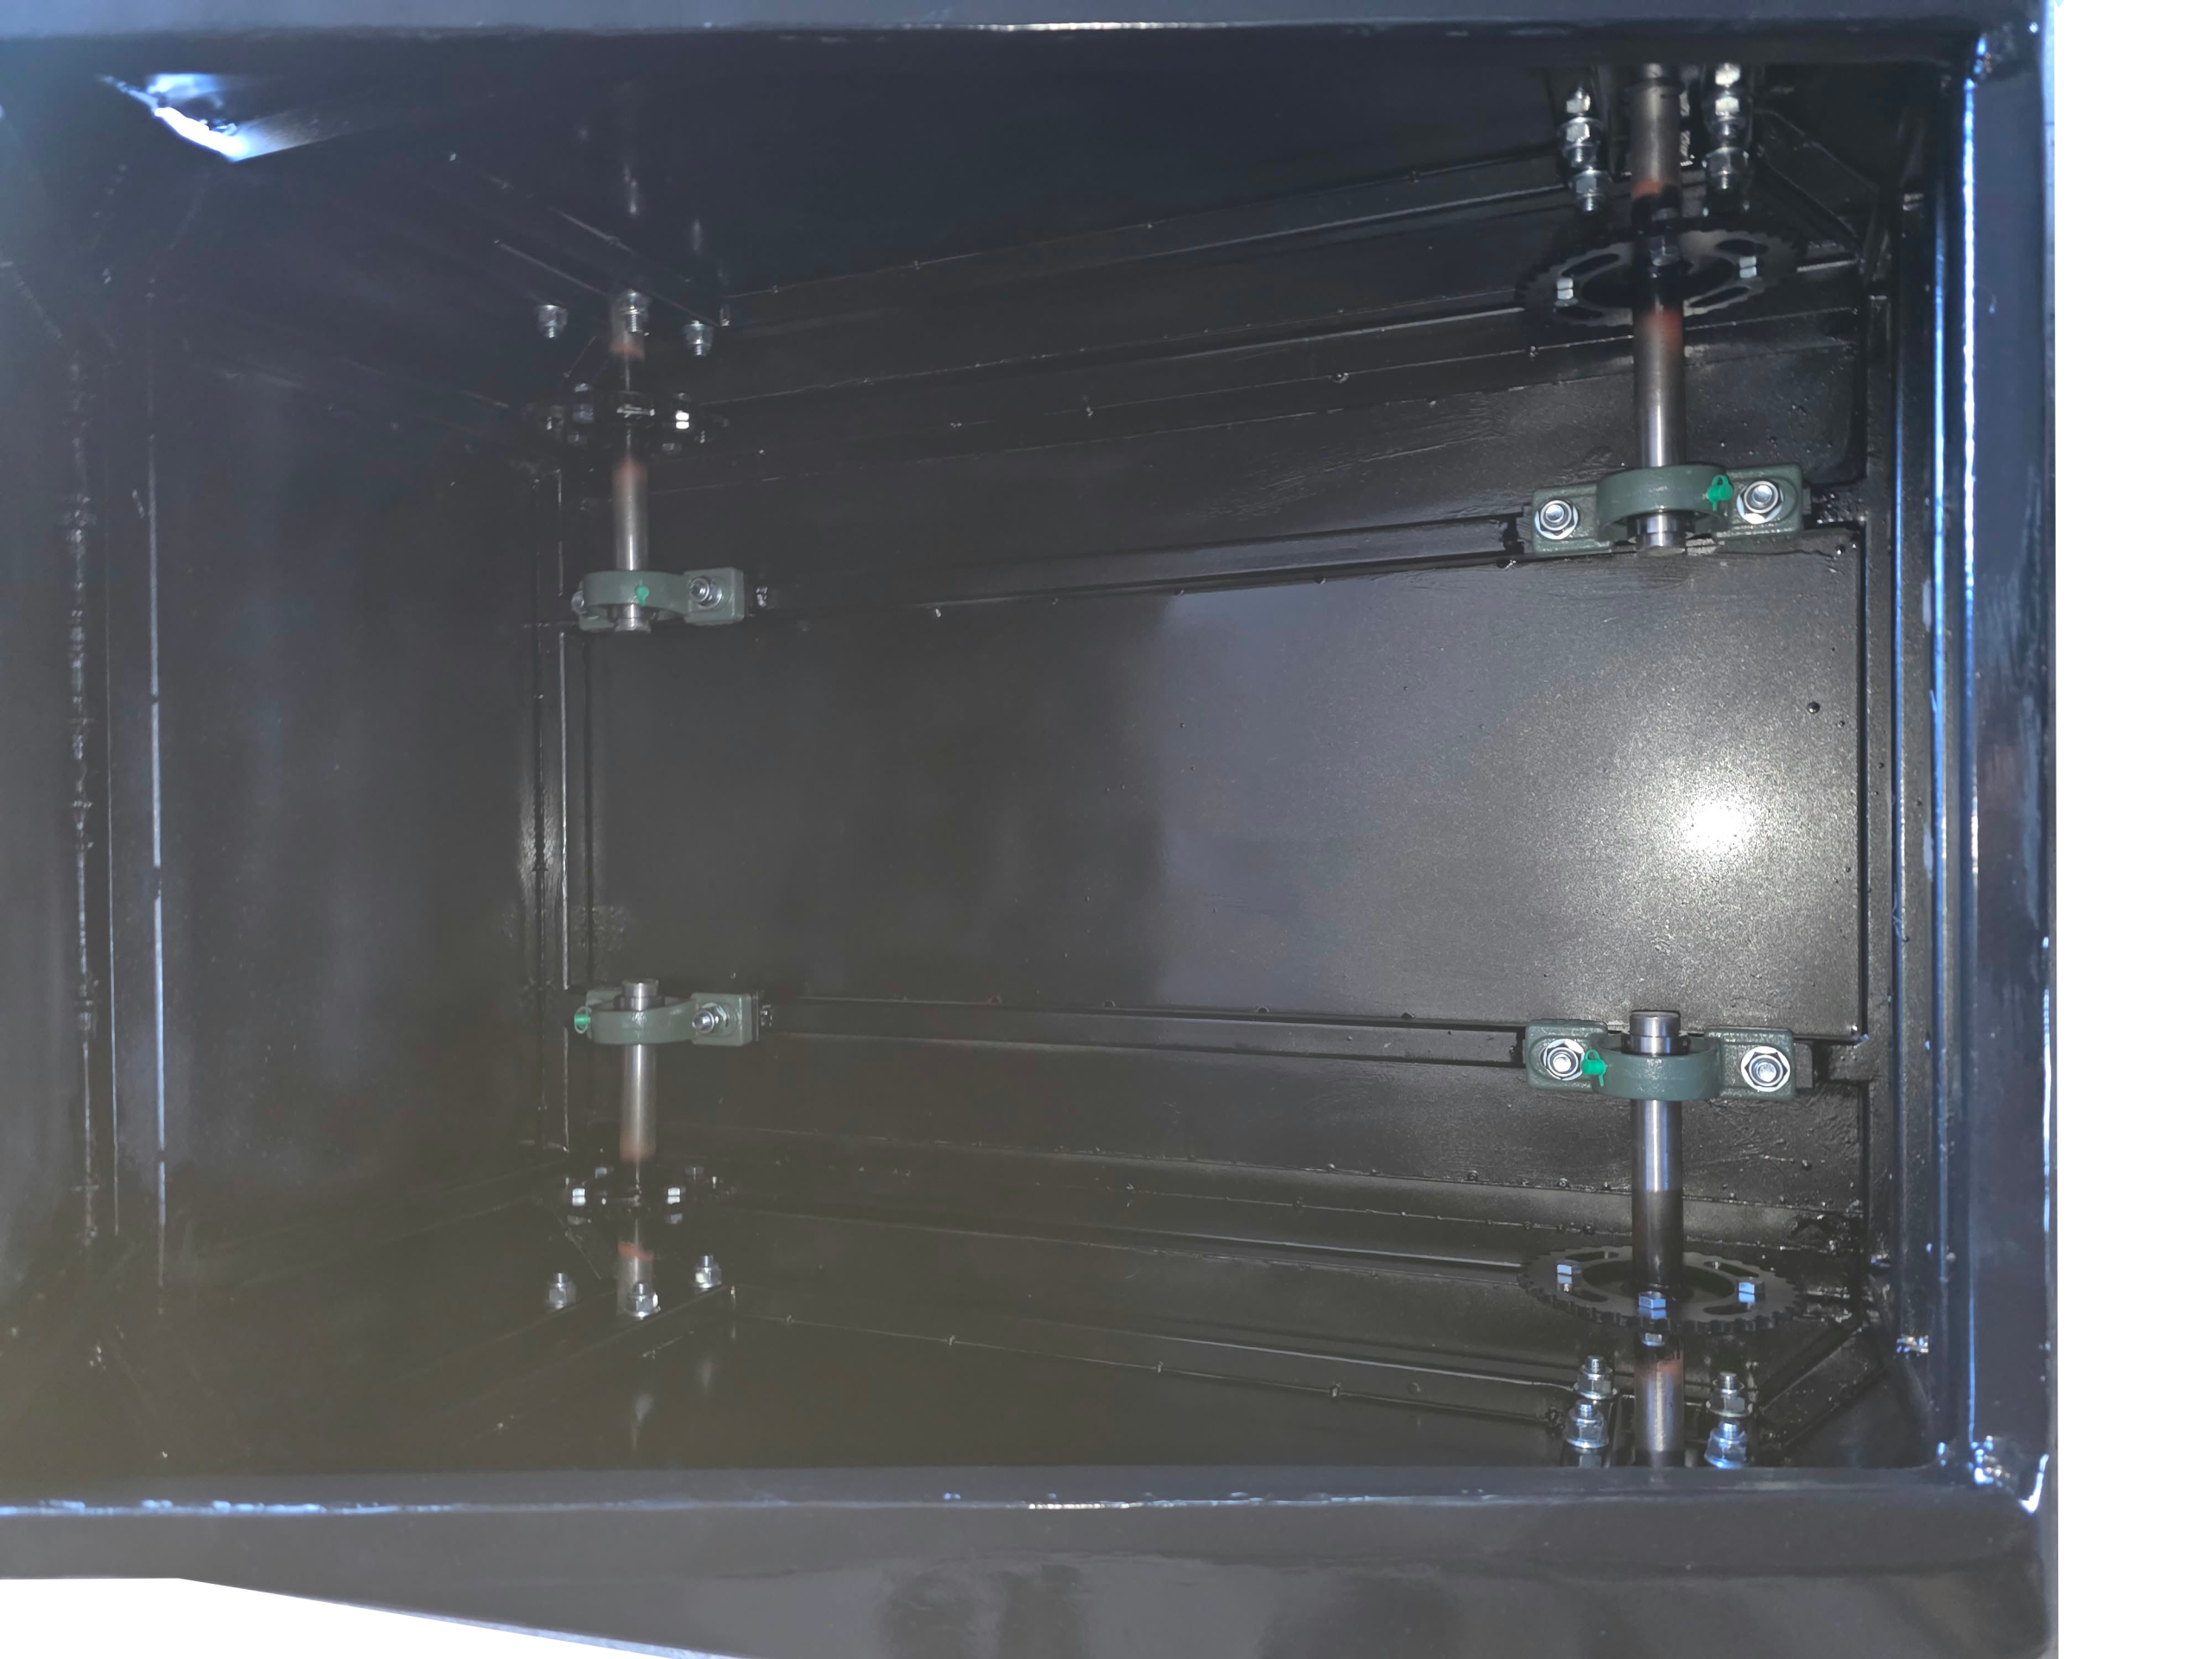
- Pillow Block Bearings: Heavy-duty cast iron self-aligning pillow block units (UCP series) bolted directly to structural chassis crossmembers.
- Power Transmission: Industrial #420 roller chain reduction drive (~6:1 overall ratio) with heavy-duty sprockets built to withstand high torque spikes.
- Attachment Actuation (Snowplow): Heavy-duty 12V linear actuators with high static holding force for snowplow lift and angle adjustments.
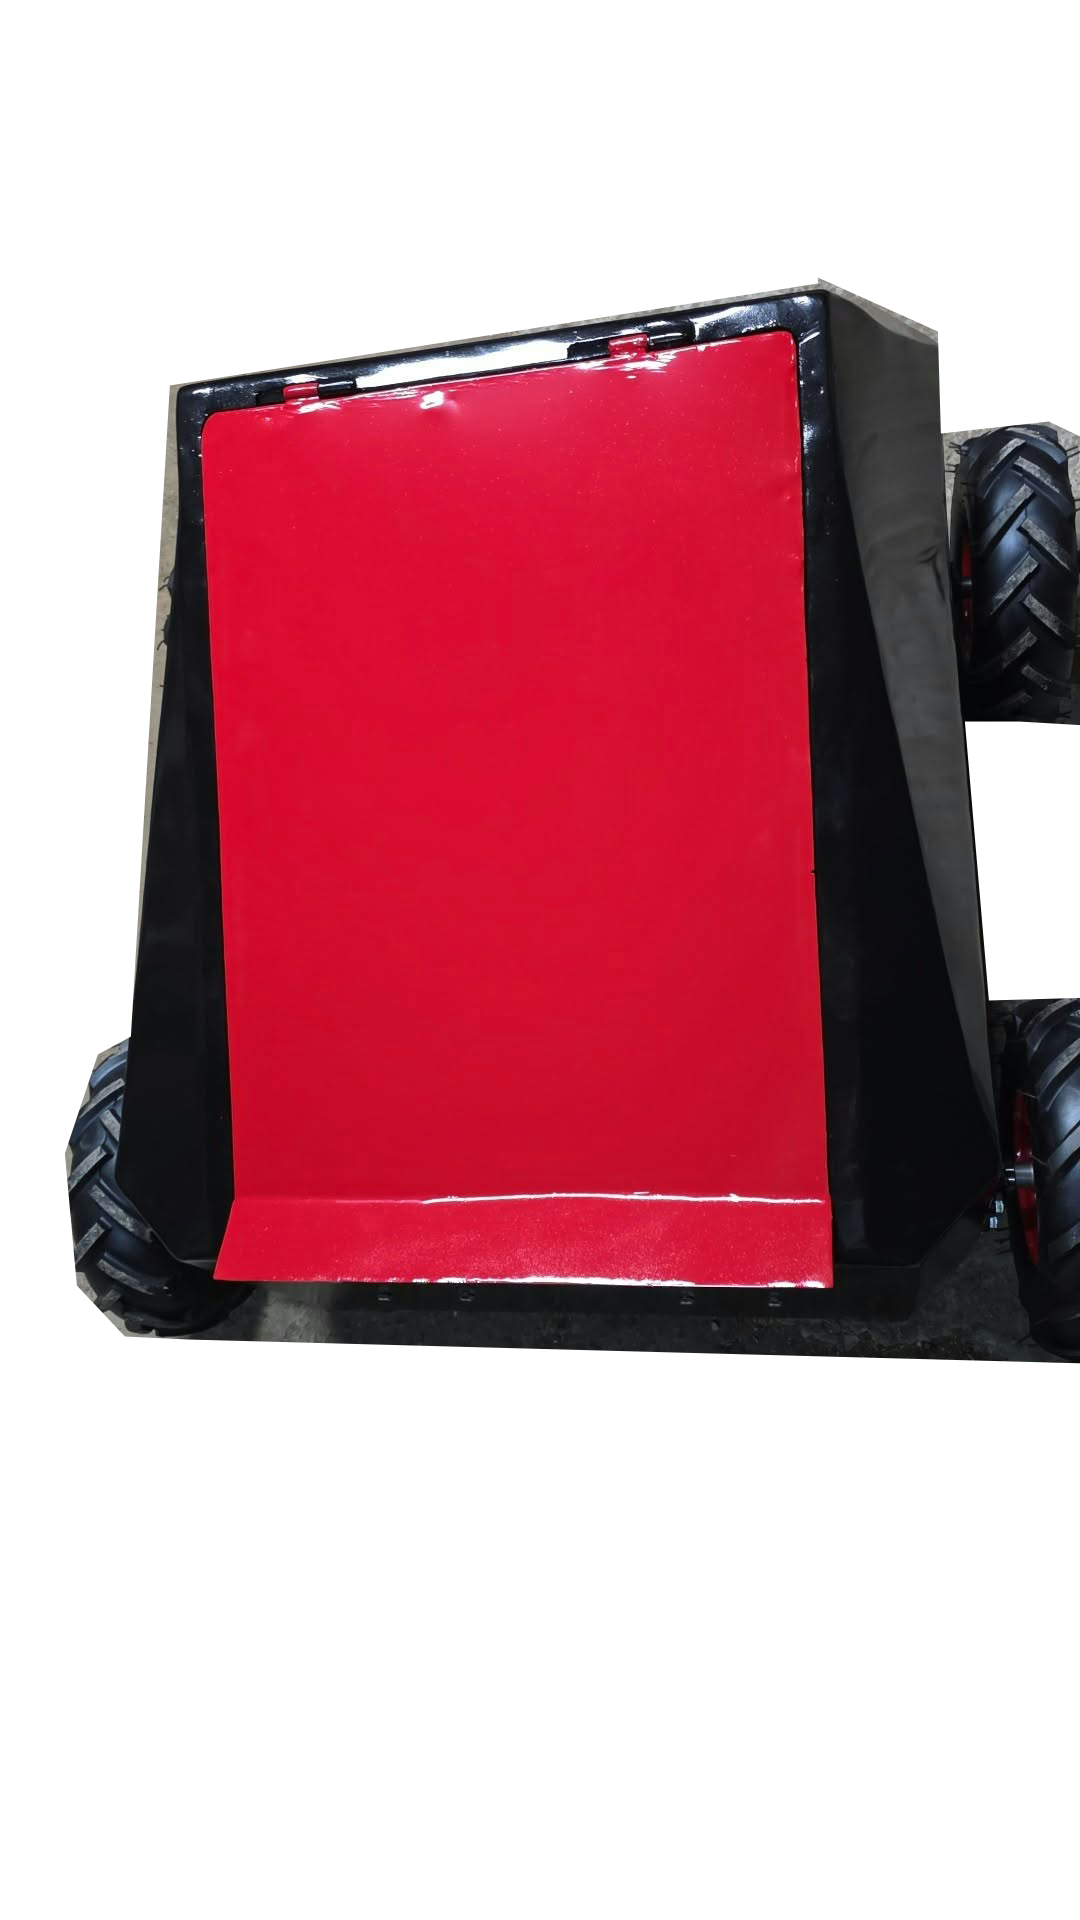
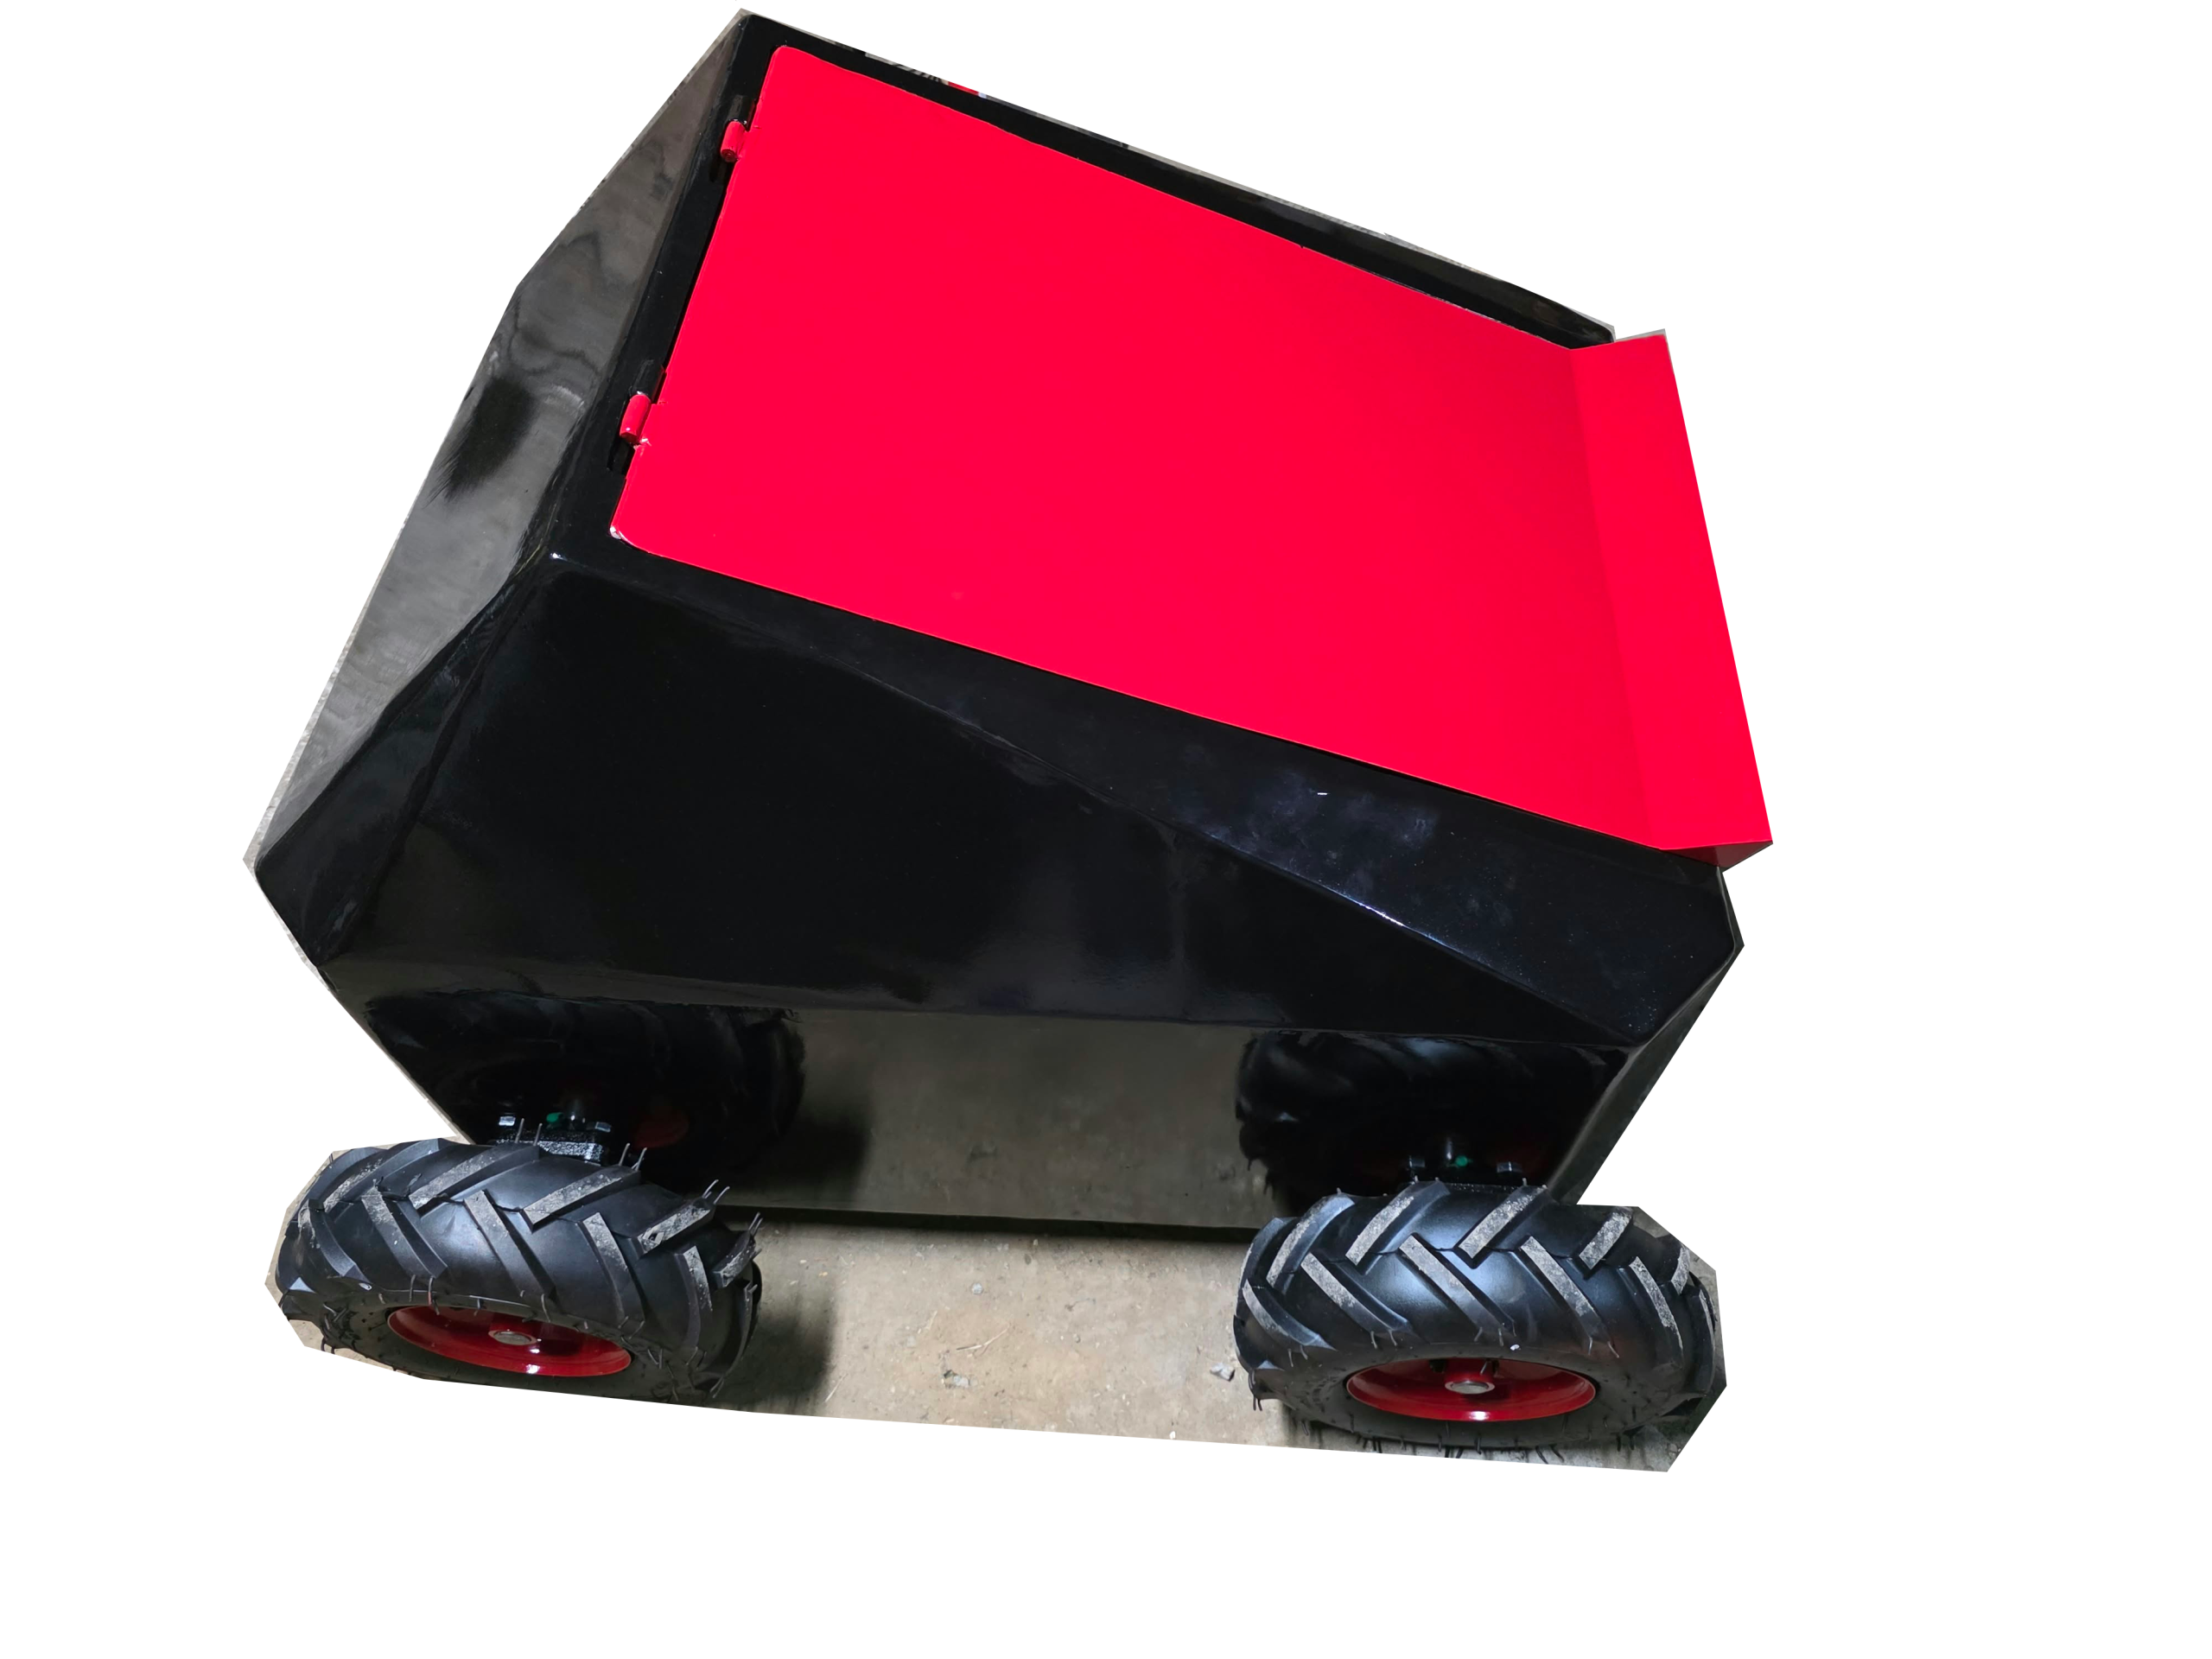
📸 Workshop Showcase: Chassis Fabrication & Welding
2. Power Architecture, Motor Control & Electronics (Electrical BOM)
Sustaining continuous draw under heavy snow-clearing loads demands high-grade motor drivers and stable power buffering.
Electrical Bill of Materials:
- Traction Motors: Dual 24V 500W brushed DC high-torque traction motors with integrated planetary reduction gearboxes.
- Primary Drivetrain Controller: Cytron SmartDriveDuo MDDS60 – dual-channel smart DC motor driver (60A continuous per channel, 100A peak) with onboard skid-steering mixing and comprehensive thermal/current protection.
🔗 Link: Cytron MDDS60 – View on Official Store - Actuator Controller: Cytron MDDRC10 – dual-channel RC motor driver tailored for direct PWM receiver inputs, dedicated to linear actuator control on the snowplow.
🔗 Link: Cytron MDDRC10 – View on Official Store - Energy Storage: Two 12V 100Ah LiFePO4 batteries (WattCycle) wired in series for a 24V 100Ah (2.4 kWh) power bank, delivering huge continuous discharge capability and stable operating voltage.
🔗 Link: WattCycle 12V 100Ah LiFePO4 – View on Official Store - RF Control & Receiver: FlySky i6X 2.4 GHz radio receiver paired with dedicated channels for drive and auxiliary actuation.
- Protection & Distribution Circuitry: The safety disconnect switches, fuses, busbars, and distribution blocks are currently being fabricated and assembled in the shop—a fully detailed wiring diagram and complete fuse ratings will be revealed in the upcoming post.
- 3D Printed Enclosures & Cable Tracks: Custom functional components printed primarily in weather- and UV-resistant ASA and PETG engineering polymers supplied by eSUN and SUNLU.
🔗 Link: SUNLU – View on Official Store
🔗 Link: eSUN – View on Official Store - FPV Vision & Head-Tracking Gimbal System: Advanced real-time visual feed powered by CaddxFPV. The robot is equipped with a high-definition CaddxFPV camera mounted on an active pan/tilt gimbal. Using paired FPV goggles equipped with head-tracking capabilities, the operator can control the camera’s orientation simply by moving their head and experience an ultra-low-latency, immersive live stream directly from the field.
- 🔗 Link: CaddxFPV – Walksnail Avatar HD Goggles X
- 🔗 Link: CaddxFPV – Walksnail Avatar GT2 Kit
- 🔗 Link: CaddxFPV – Gimbal GM3 V2
3. Surface Finishing & Protective Chassis Coating
Because this robot will operate in wet snow, mud, and road salt, long-term corrosion prevention is critical.
Finishing & Coating Workflow:
- Weld Cleaning & Deburring: Grinding down weld splatter and softening all external sheet edges.
- Chemical Degreasing: Removing oil, cutting lubricants, and residue using industrial solvent cleaners.
- Aluminum-Filled Filler: Applying reinforced body filler over joint transitions to withstand cyclic vibration without micro-cracking.
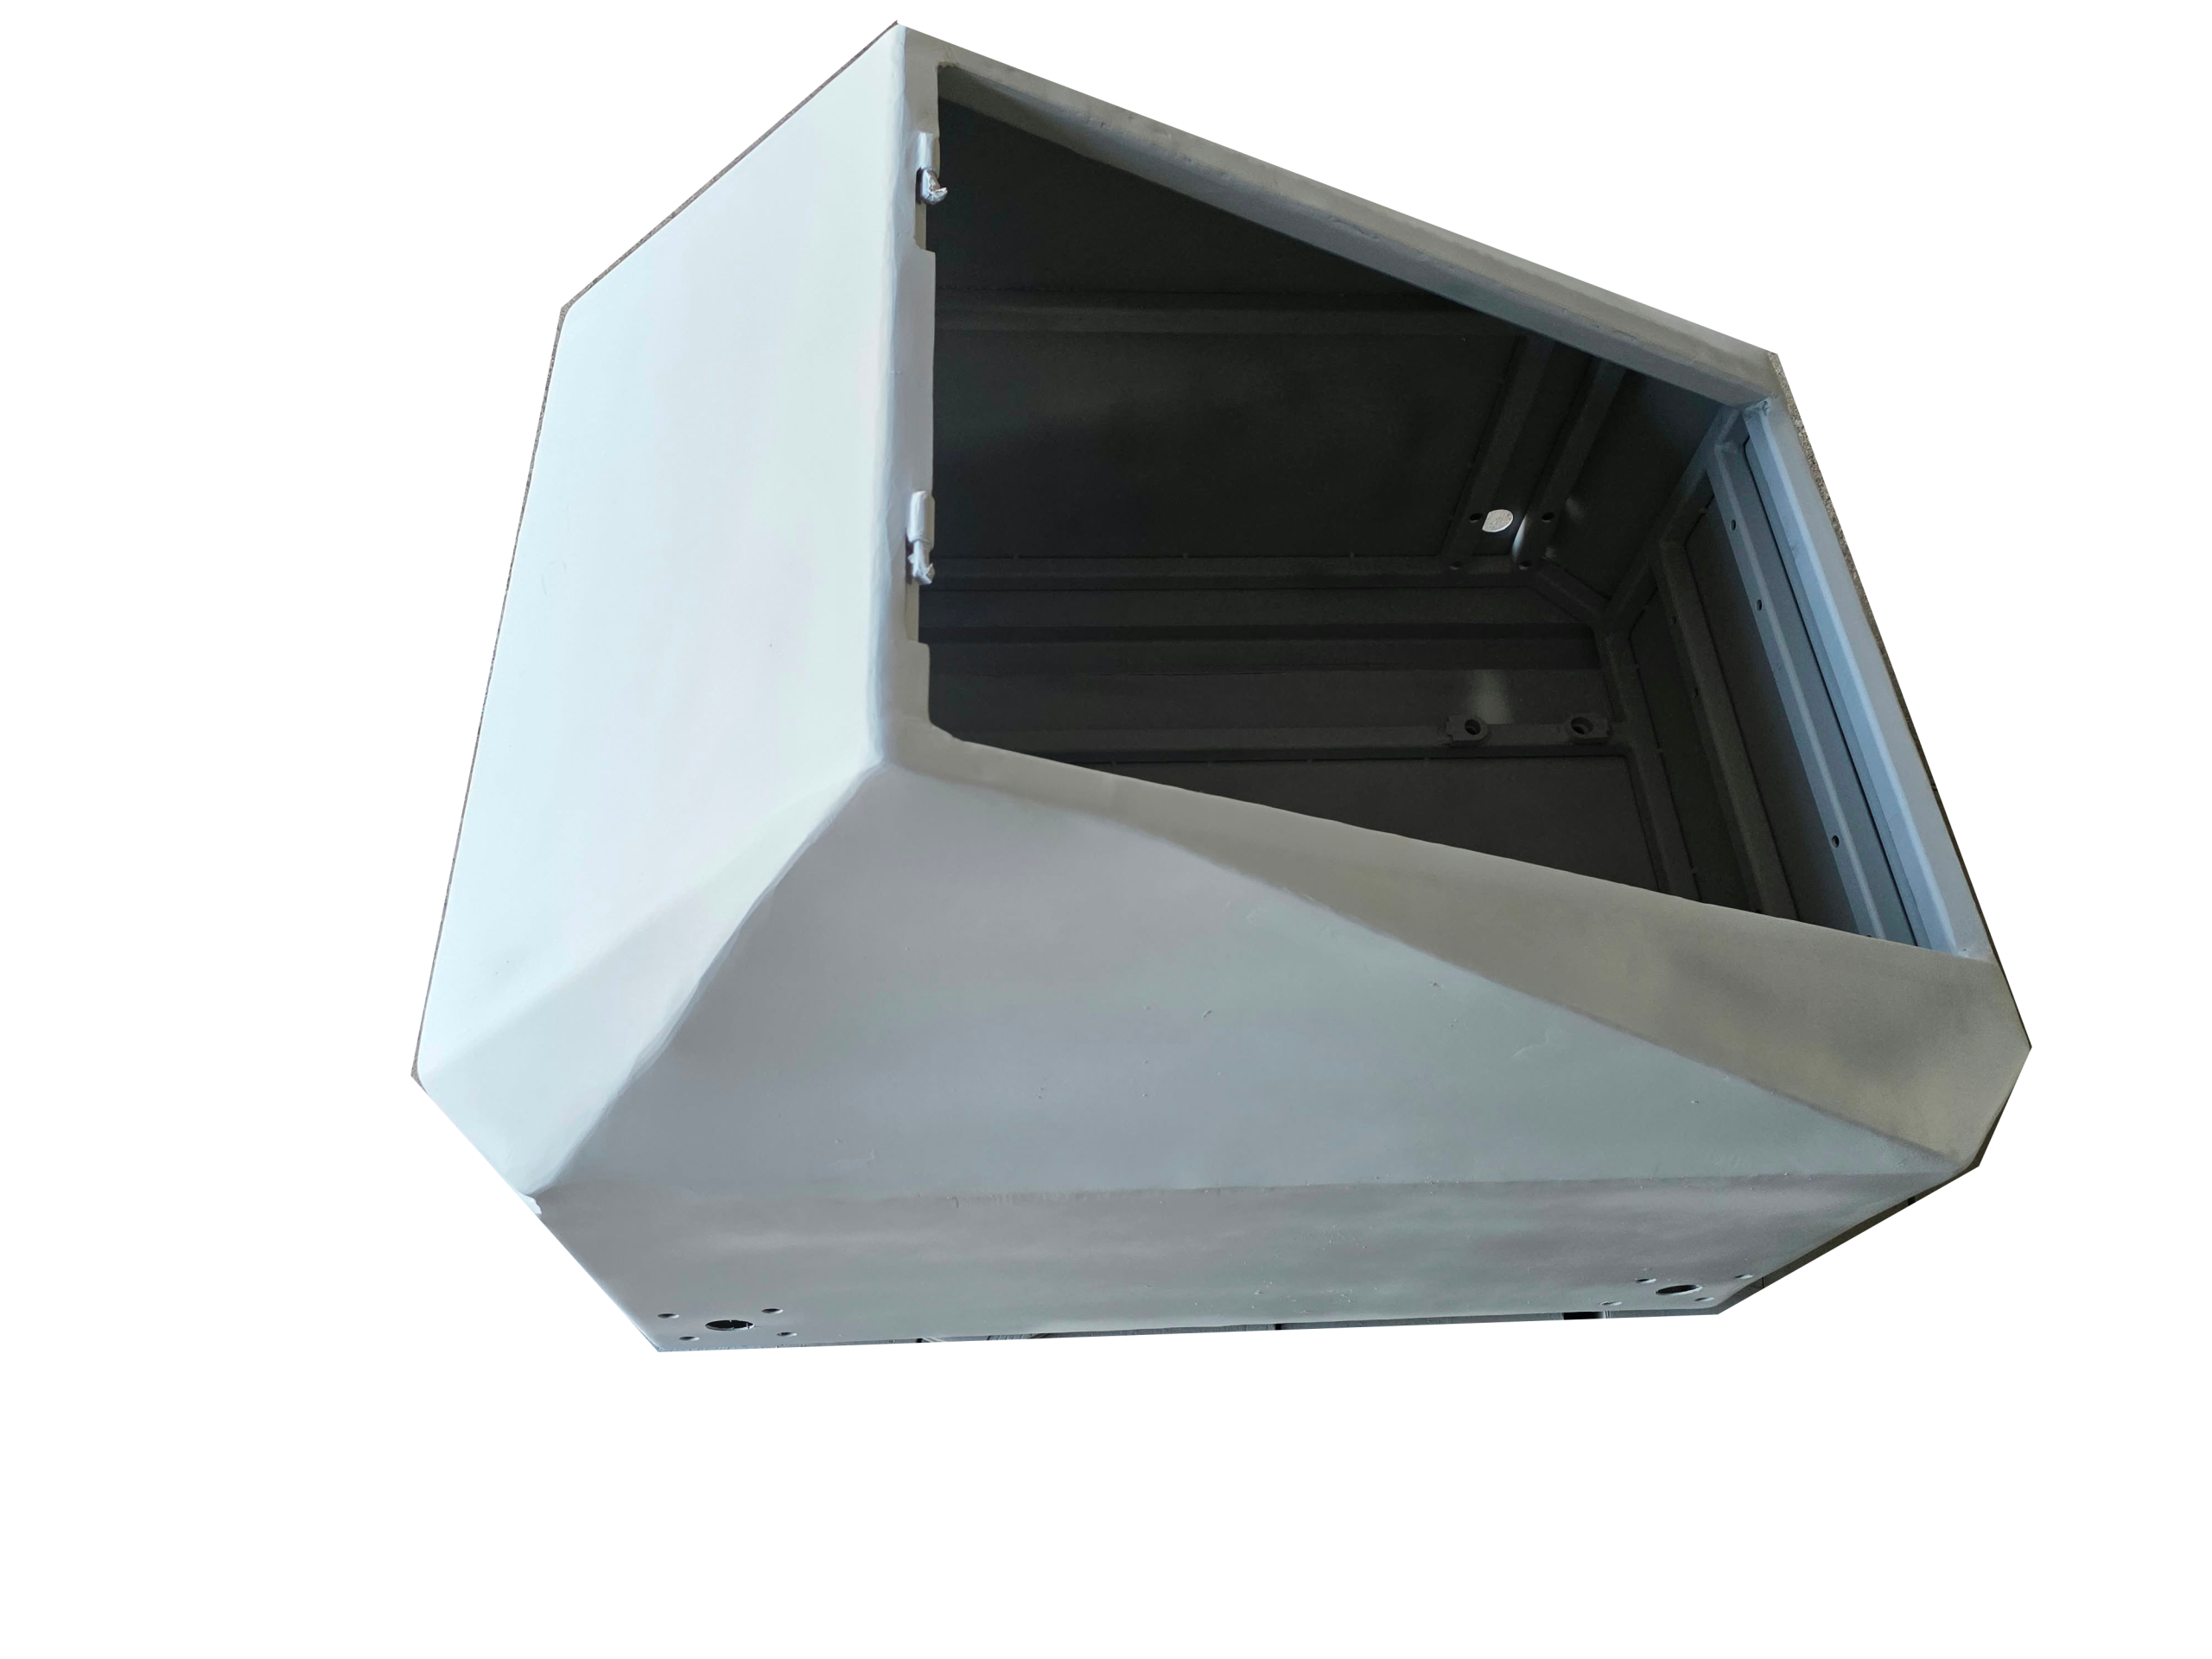
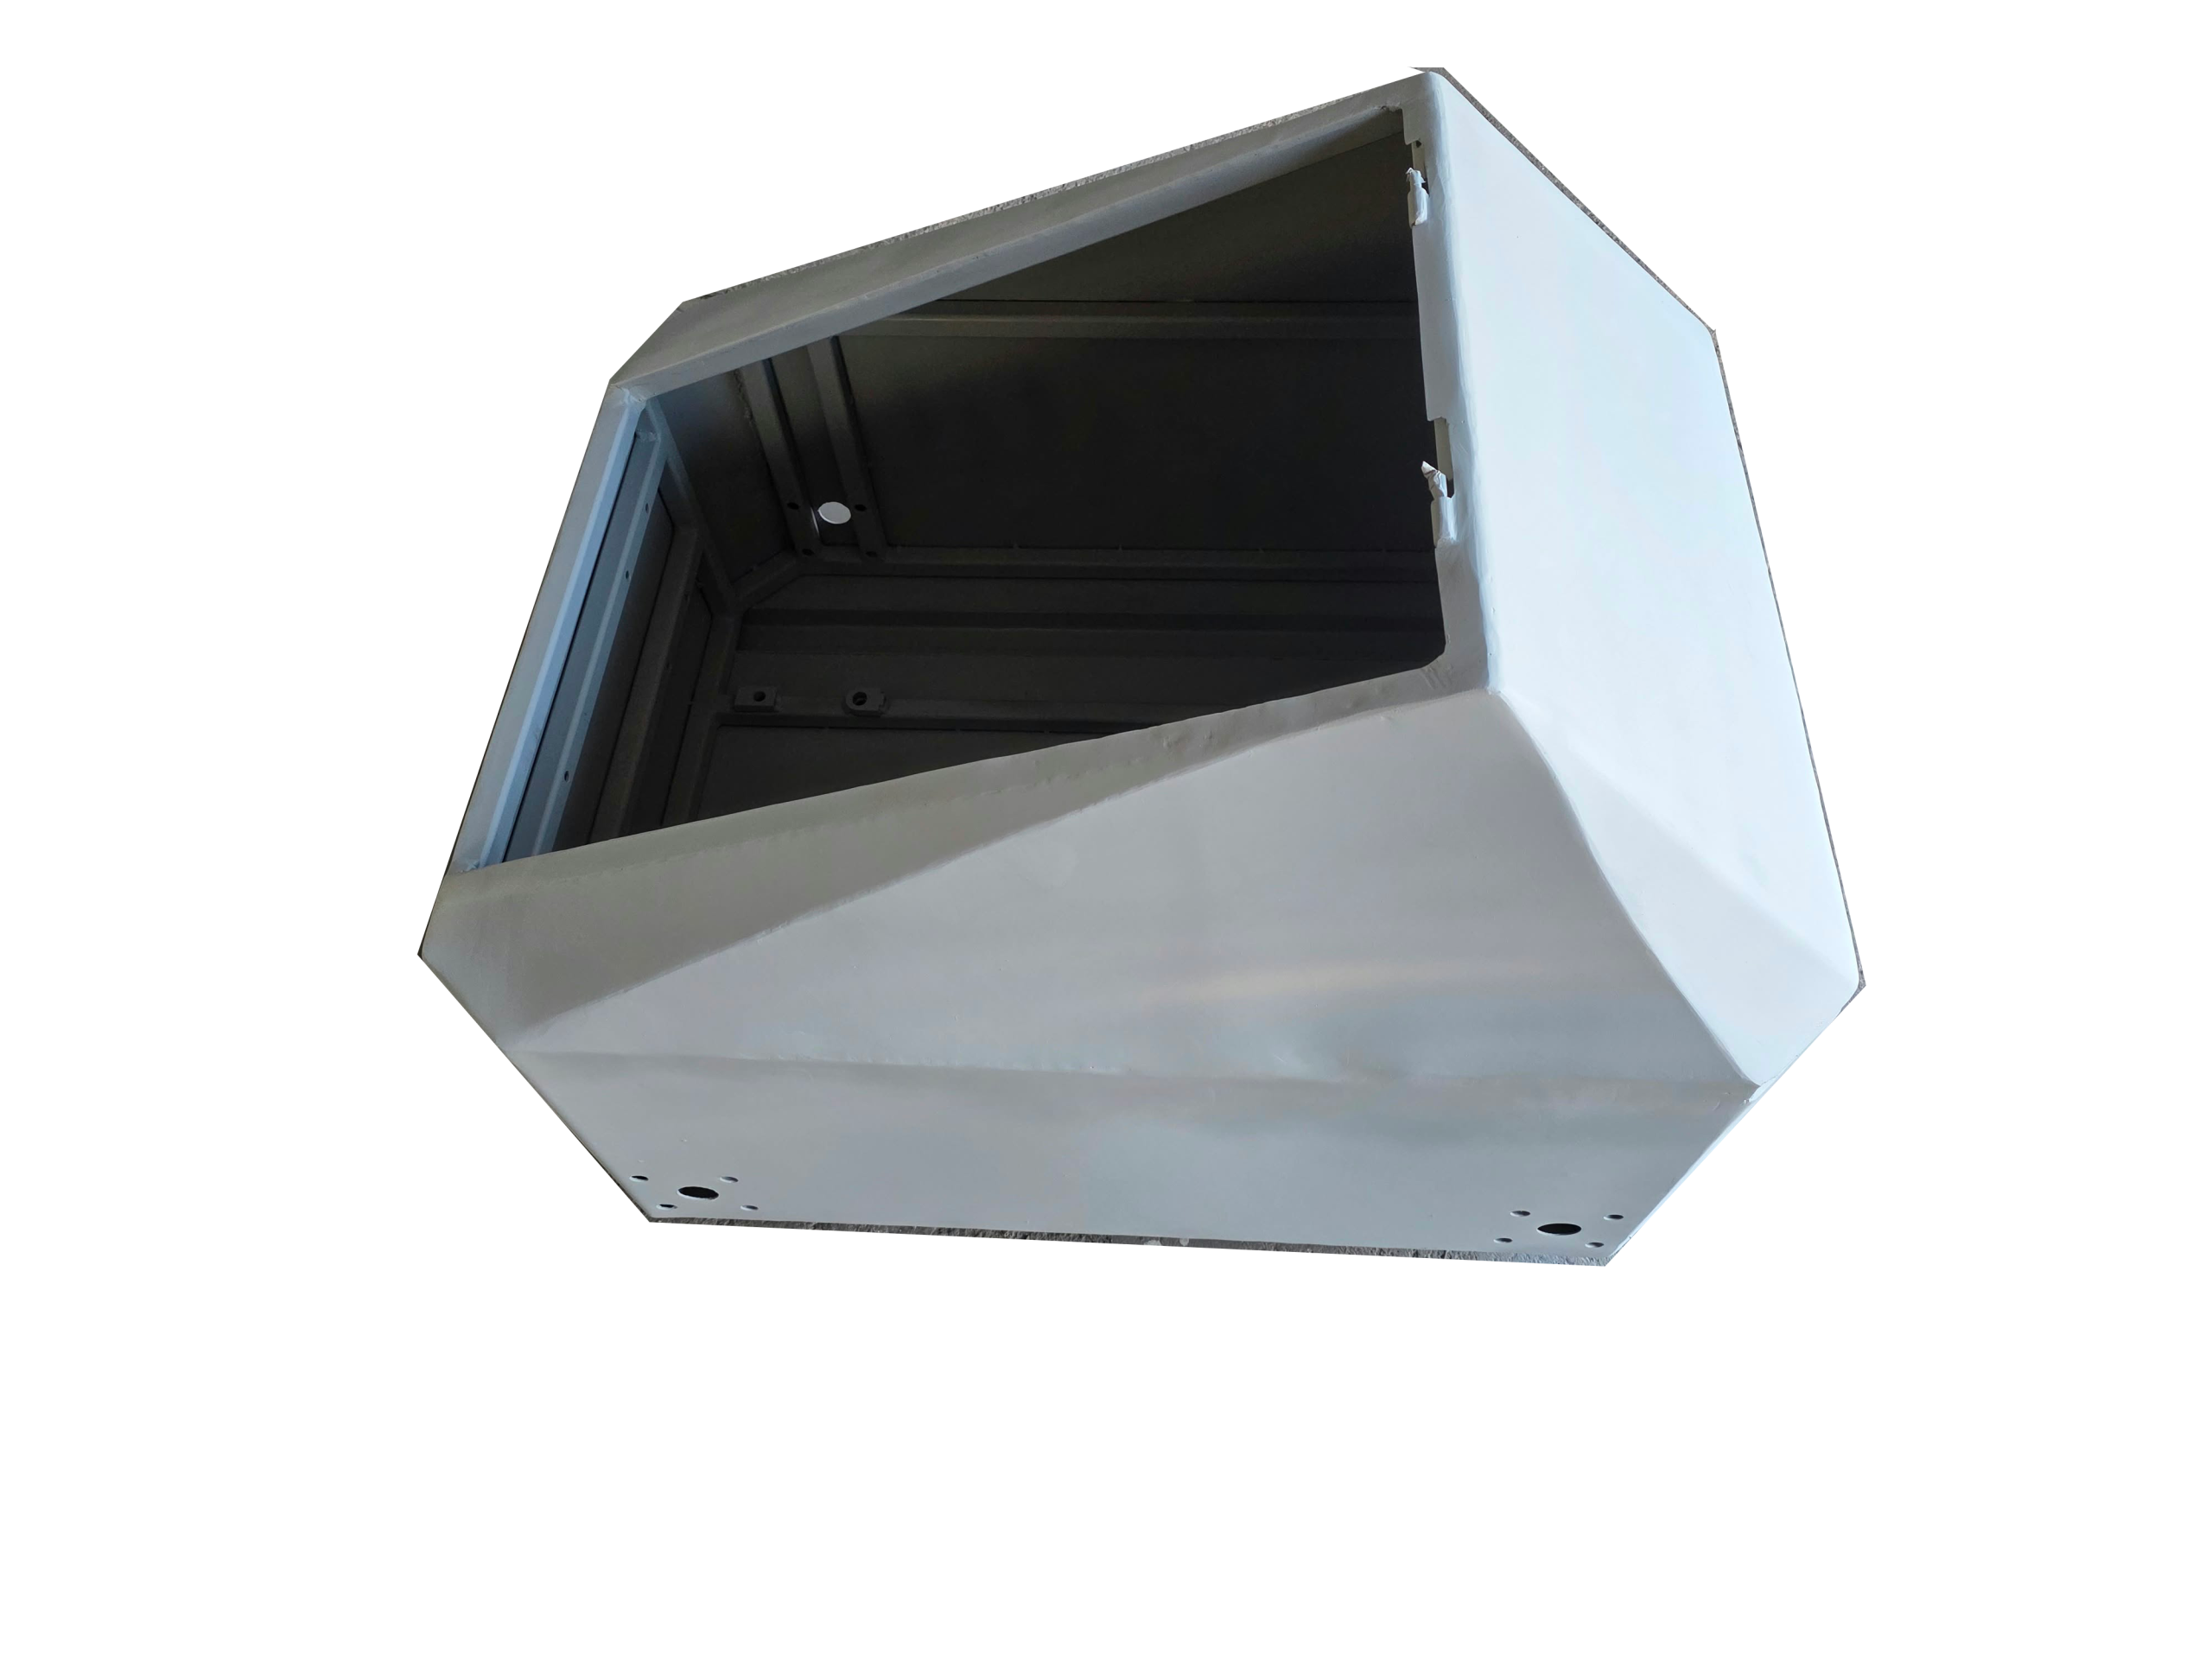
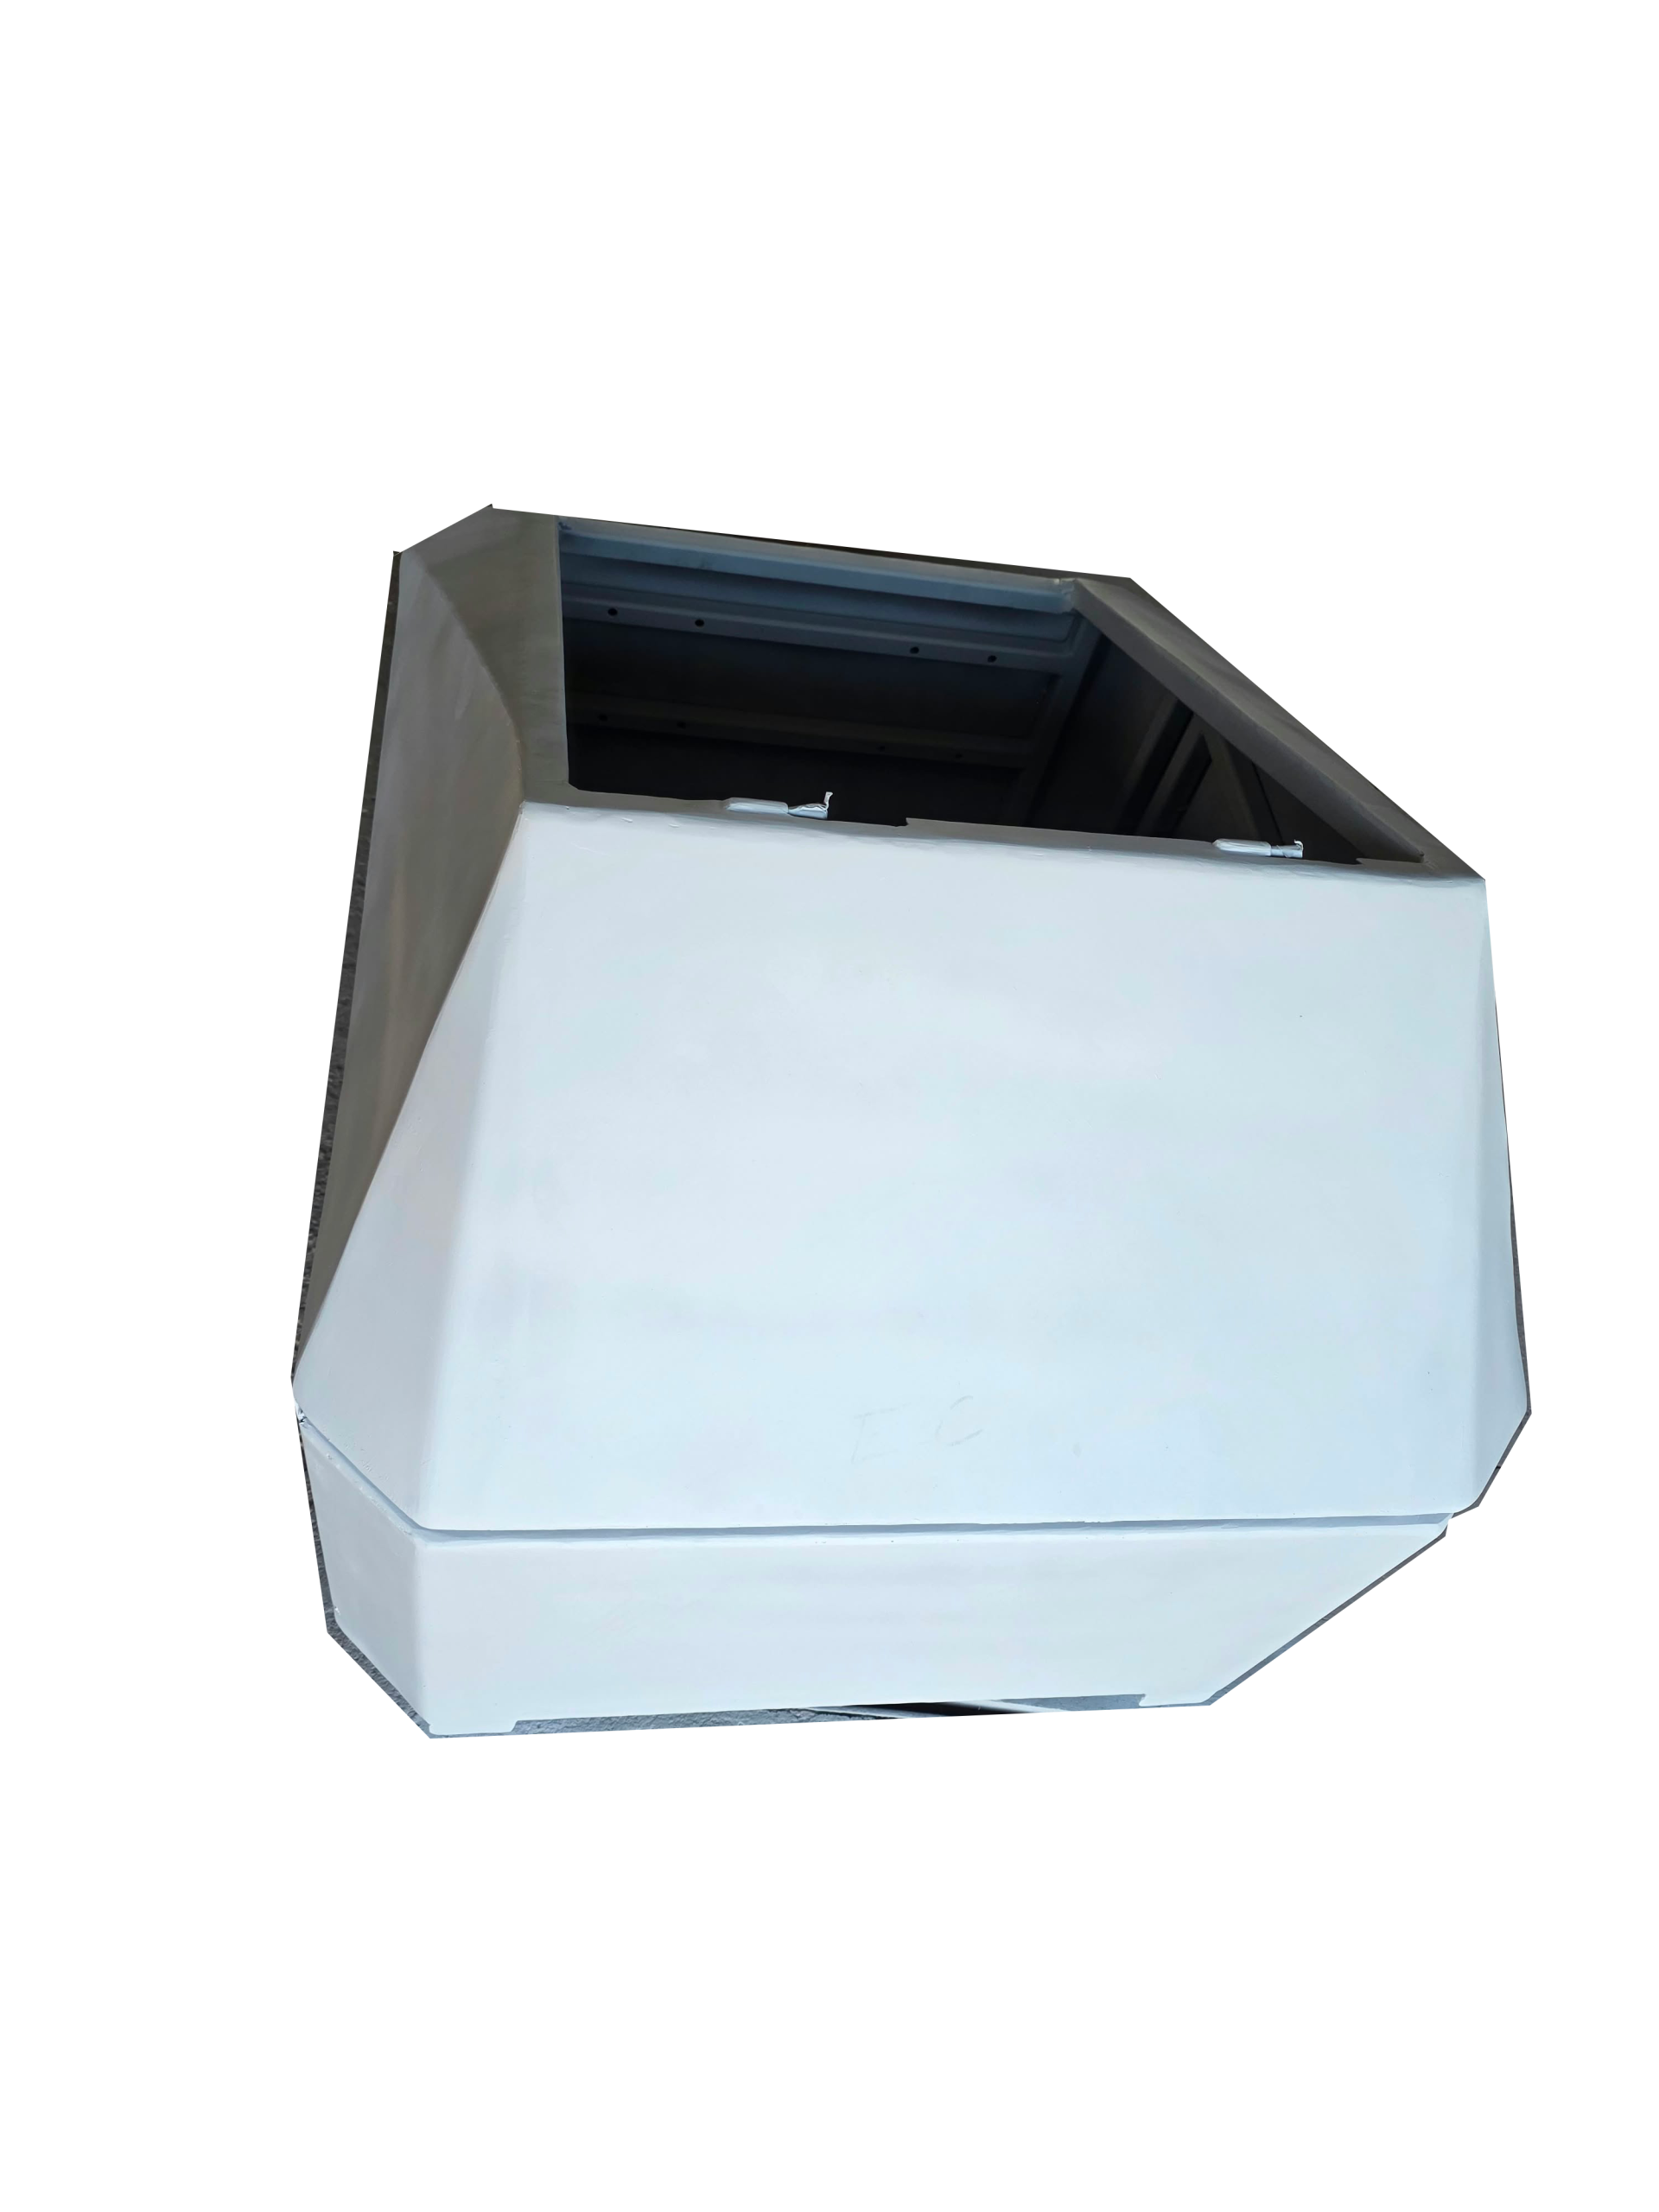
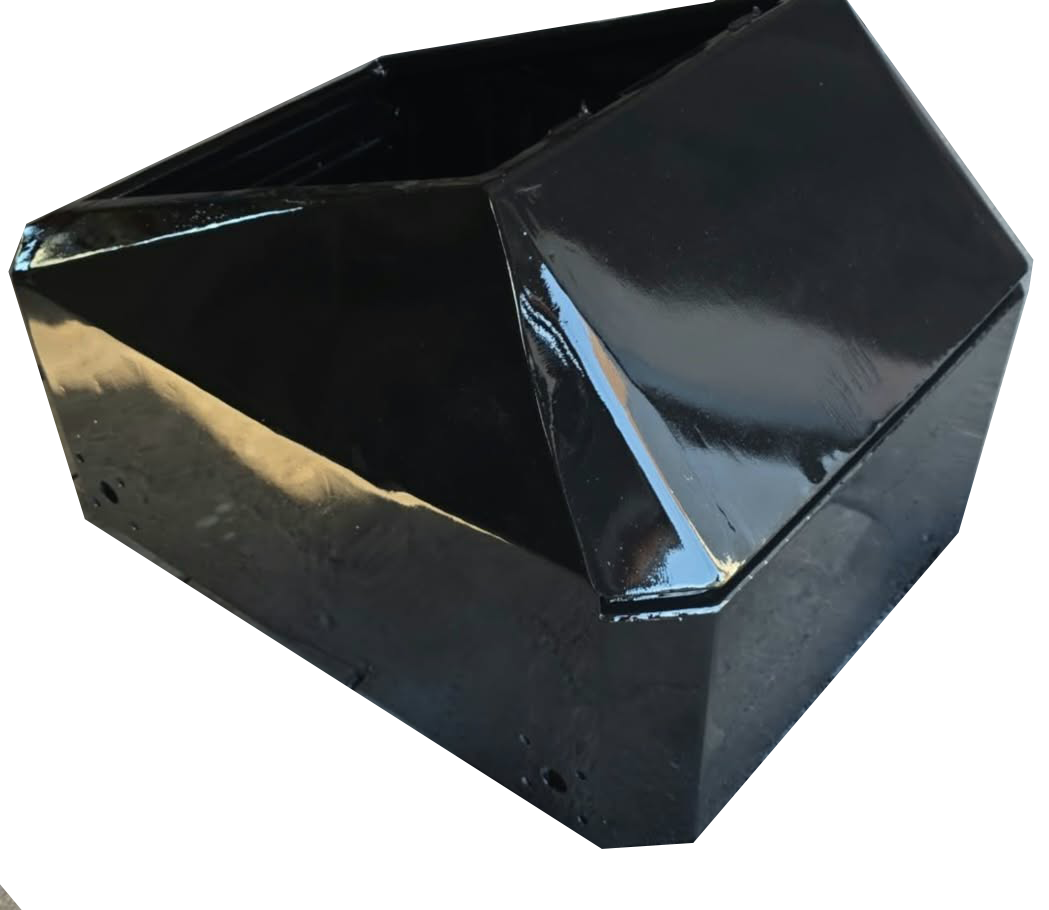
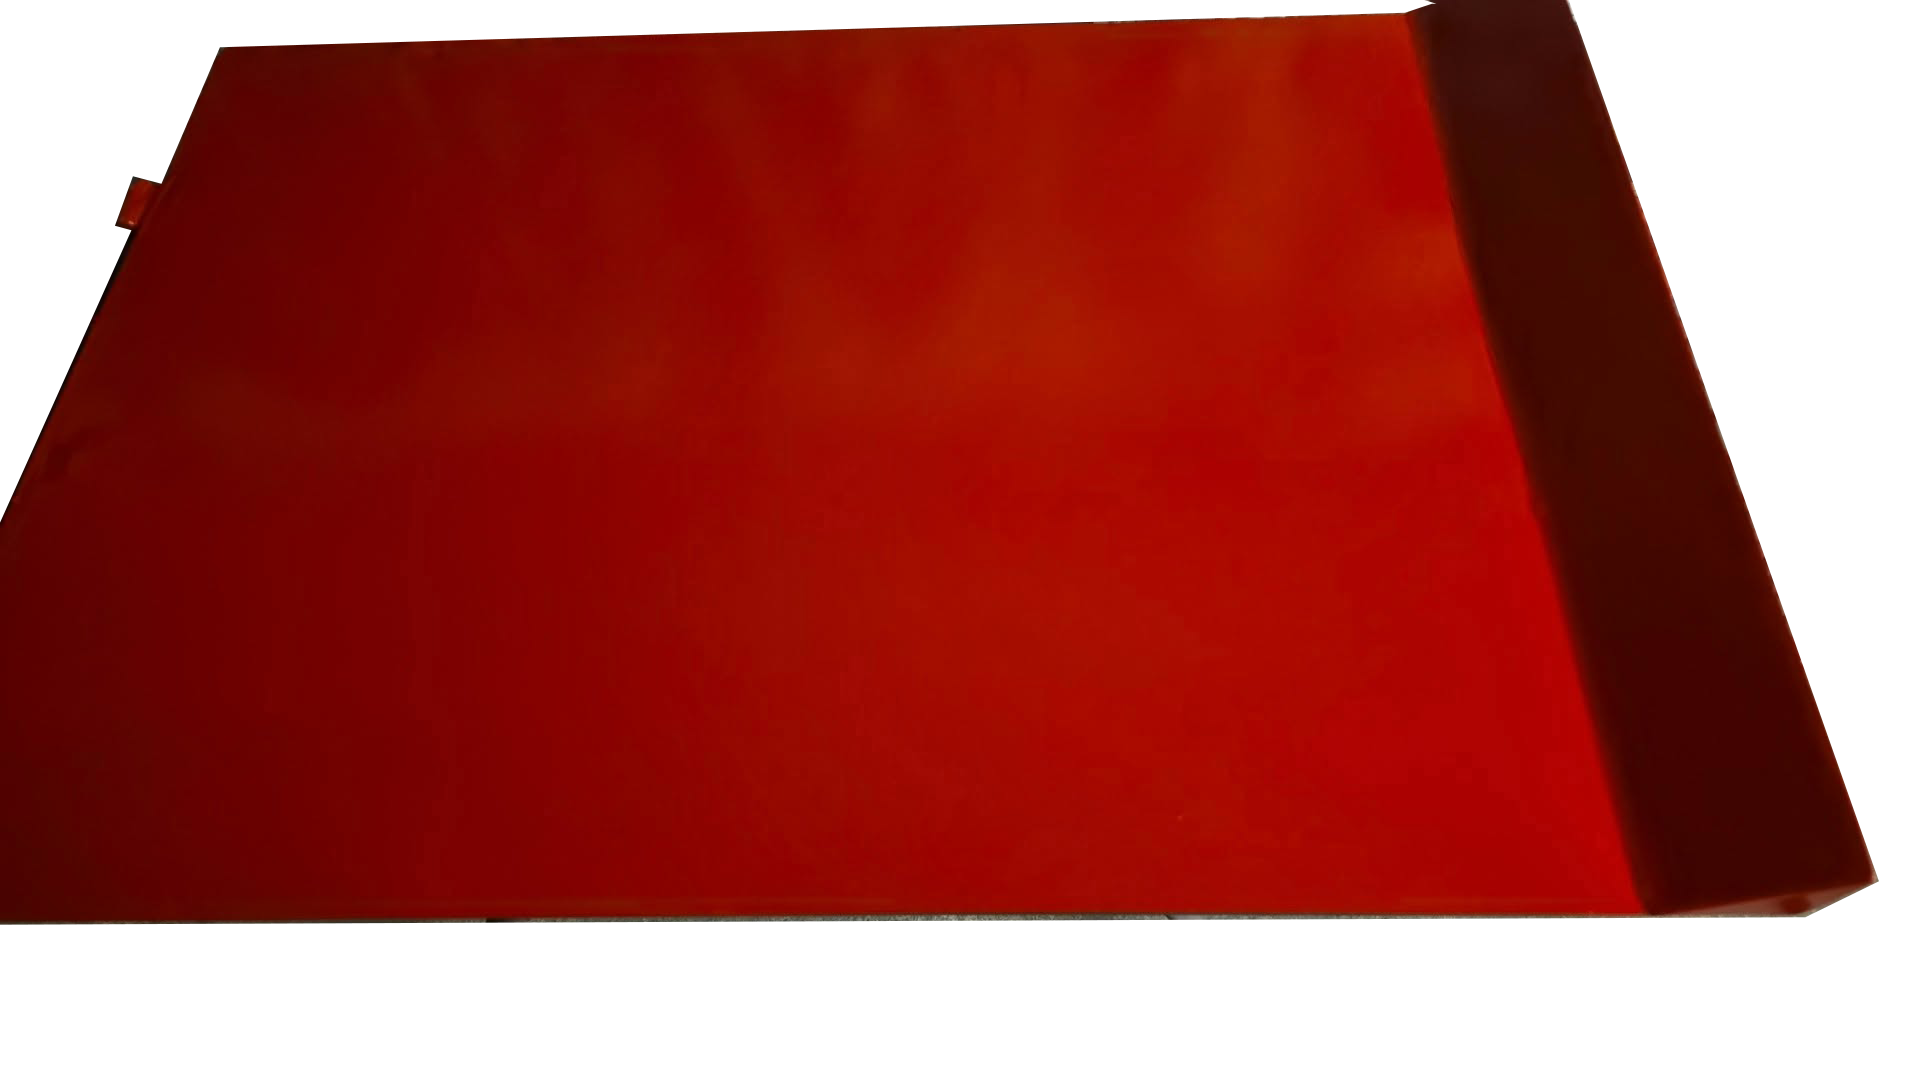
- 2K Epoxy Primer (Current Stage): Spray-applying two-component epoxy primer to create a tough, hermetic barrier that bonds strongly to raw steel.
- Topcoat Protective Finish: Industrial polyurethane topcoat formulated for high resistance to stone chipping, abrasion, and outdoor UV exposure.
📸 Workshop Showcase: Surface Prep & Primer Coating
Next Steps
With primer application completed, the platform moves directly onto the assembly bench:
- Next Post: Full electrical integration—wiring the Cytron MDDS60 and MDDRC10 drivers, connecting the 2x 12V 100Ah LiFePO4 packs, installing safety disconnects, and conducting bench tests.
- Field Trials & Community Feedback: Outdoor traction runs under heavy payload, followed by a forum for reader suggestions and proposed modifications.
Stay tuned for more updates!